How to iron a long sleeve shirt?
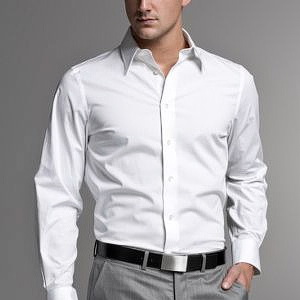
A shirt is a must-have item in every wardrobe, both male and female. Neat, well-ironed, it leaves a very good opinion of its owner. In order for this wardrobe item to work for you, you need to know how to iron a long sleeve shirt, because it is almost an art. In this article you will learn all the intricacies of ironing this thing, and you will always amaze everyone with its appearance and accuracy.
to contents ↑How to iron a shirt?
Before you start ironing, you need to properly prepare for this process. The following few tips will help you simplify the process and save time:
- After washing, the shirts should be dried on their shoulders in a straightened form. This will help you avoid wrinkles and wrinkles on the fabric.
- Do not let your shirt dry completely, you need to iron it damp. If it has completely dried, moisten it from the spray bottle and place it in a plastic bag. This method will help to achieve uniform hydration.
- How to iron men's shirts in dark colors? The correct answer to this question is from the inside out. If ironing occurs on the front side, the fabric will quickly fade and begin to shine. Brilliant materials also apply to this rule.
- You need to iron the shirt according to the principle “from smaller to larger”, first iron the smallest details, then the sleeves and shelves, and at the very end, the back. This order will help you achieve the best result.
- Each type of fabric requires its own temperature regime. If you pick it up incorrectly, you can either burn a shirt, or simply not get any result.
Important! A shirt is only part of the look. And even if it is qualitatively ironed, but does not fit into a set of clothes, the appearance of a man leaves much to be desired. To prevent this from happening to you, use our tips from the following articles:
Training
Before you start this process, you need to prepare everything you need so that you do not get distracted during work. We will need:
- Iron. It is highly desirable to have a non-stick coating, a spray gun and a steaming function on it.
- Ironing surface. An ironing board would be an ideal option, but if it is not there, select a place with a perfectly flat surface, place a thick cloth on it and cover with a cotton sheet. For the future, nevertheless be puzzled by the purchase of a special device. And so that the process is fast and the result is high-quality, read our article “Choosing an Ironing Board”.
- If there is no spray gun in the iron, take a regular spray bottle with water.
- Find a piece of white or light cotton fabric through which, if necessary, you can iron the shirt.
Choose a mode
As already mentioned above, different types of tissue need their own temperature regime. First, pay attention to the label. It usually says everything. And you can peek the notation in our post with decoding of badges on clothes.
If not, consider the following recommendations:
- Iron the shirt, which is part of the fabric polyesterIt stands at temperatures up to 110 degrees. At the same time, switch the steam mode to minimum. Such material does not like much moisture.
- Iron things from viscose at temperatures up to 120 degrees. They take out the steam treatment, but it is better not to wet them from the spray, since water spots may remain.
- Cotton is ironed at a temperature of 150 degrees and using a large amount of steam. An admixture of flax in cotton raises the temperature of ironing to 170-180 degrees.
- The toughest material is pure linen. It is worth ironing a linen shirt at maximum temperatures and with a lot of steam.
- Iron the shirt, the fabric of which includes wool, from the wrong side, through gauze, so as not to leave stains from the hot iron.
- Silk shirts are ironed dry, otherwise they will stain. And also for such things, minimum temperatures are used. It is best to iron the silk shirt from the wrong side through a slightly damp cotton white cloth.
- Fabrics with a compressive effect are ironed at a temperature of 110 degrees without steam.
Important! If there are no specific temperature and fabric labels on your device, use our decoding of icons on the iron.
If the composition of your shirt is unknown, start at minimum temperature without steam and gradually increase it. If the iron no longer slides over the fabric and starts to stick, stop ironing immediately and reduce the temperature.
Now on sale are shirts that do not need to be ironed. The secret is that after washing such things are not squeezed out, but are immediately hung on the shoulders and dried in this form. During drying, the fabric itself straightens, and you save your time. If you don’t want to do the tedious ironing procedure for you each time, consider this very convenient option when buying items for your wardrobe.
to contents ↑Ironing Stages
It has already been noted above that in order to iron a shirt with a long sleeve, ironing must begin with small details. Let us consider in more detail the procedure.
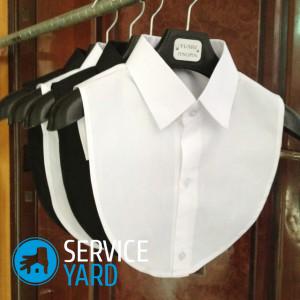
Ironing the collar
Correctly stroking the shirt collar is not difficult if you act like this:
- If there are bones in the collar, we must pull them out before ironing.
- They start the process from the wrong side, the iron is directed from the edge to the center - this will help to avoid smoothing the folds in the corners.
- The same procedure is repeated on the front side.
- It is not recommended to stroke the collar, as it will acquire an irregular shape and will look terrible.
Important! There are some simple secrets to caring for such things. One of them is stiffening of the collar and cuffs, due to which it is easier to iron them, and they become soiled more slowly. This is easy to do at home with the help of improvised tools.
Find out, how to starch a shirt collar.
Cuffs
You need to start ironing the sleeves of the shirt with cuffs. For this:
- As in the case of the collar, the wrong side is ironed first, then the front side.
- Double cuffs are ironed slightly differently: we unfold the cuff and iron along the entire length, after giving it the desired shape and width, smooth it over the bend.
Important! Most often, the shirt has to be completely washed for the reason that the cuffs or collar are dirty. And depending on the degree of contamination, it is not always possible to clean them the first time. To facilitate this task, use our tips from the article. "How to unfasten the collar of a white shirt?".
Sleeves
If you reconsider the ways of ironing sleeves on the Internet, then there are 2 ways: on a special nozzle and on the edge of the board. Both methods pursue the same goal, to stroke the sleeves without arrows. Iron the sleeves of the shirt in the following sequence:
- Lay the sleeve folded in seam in half on a flat surface.
- Iron the sleeves of the shirt in the direction from the shoulder to the cuffs. It is undesirable to approach the iron close to the edge - this will help to avoid arrows.
- When the sleeve is ironed, it should be turned so that the seam is in the middle from the bottom.
- Iron the rest.
- The collar area should be ironed by placing the shirt with your shoulder on the edge of the board.
- Repeat with the second sleeve.
Important! If you notice that the already straightened part is wrinkled, correct this misunderstanding by wetting it with a little water and ironing it again.
Shirt front
Start the front part with the shelf on which the buttons are located. Proceed in the following order:
- Start with the coquette of the shelf and go to the top.
- Next, iron the rest, gently passing the nose of the iron between the buttons so as not to melt them.
- We repeat the same steps for the second shelf, but it will be easier to iron it, due to the lack of buttons.
Back
The easiest element to iron a shirt is the back. There are no buttons or folds. Just follow the steps below.
- You need to start straightening the back from the side seam, carefully circumventing the sleeve.
- Expand the product and walk the iron in the center and yoke.
- Expand again, finish ironing the yoke and move along the back to the second side seam.
Important! Carefully iron the side seams and do not make arrows on the yoke.
Some tips for women's shirts
Usually on women's shirts there are many finishing elements that are very difficult to iron. To iron a women's shirt, do the following:
- Stroke the shirt collar. If it is decorated, try to make it with the nose of the iron.
- Iron sleeves and back as described above - from the wrong side.
- After that, iron the shelves. Start with the smallest details. Carefully walk around the entire shelf, see if there are any random creases and arrows left.
For the rest, you need to iron a women's shirt in the same way as a men's shirt.
to contents ↑Important! To iron a shirt with a short sleeve, you need to follow the same principle as the product with a long sleeve, but the process is simplified by the fact that you do not need to iron the sleeve and cuffs so carefully.
Some unusual ways to iron
Sometimes there are times when you need to iron a shirt without an iron. There are several ways to do this.
Method 1
Some fabrics are non-creasing. This allows you to not squeeze them after washing, but simply hang them on your shoulders, spreading the product. Having dried, it does not require ironing.
This option is one way to quickly pat your shirt.
Method 2
You can iron the shirt in another way - by hanging it in the shower with the hot water turned on. Steam from the water will smooth your item and it will not require ironing. After a shower, such a product will need to dry on the same shoulders.
Method 3
- Mix the solution from fabric softener, vinegar and pure water in a ratio of 1 to 1.
- Pour this solution into the spray bottle and spray it on the shirt hanging on the shoulders.
- Let things dry.
- When the solution is completely dry, the product will be perfectly smooth beautiful.

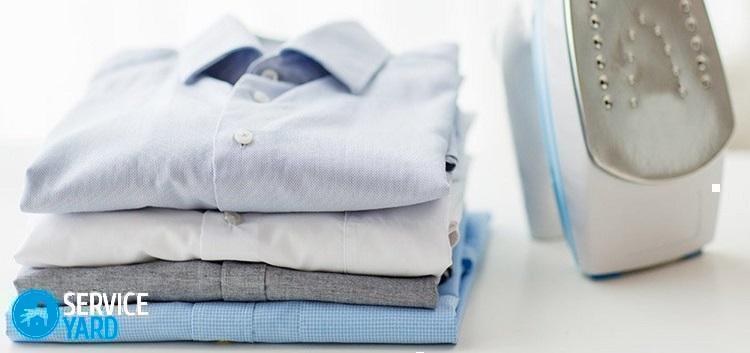
Fold the shirt so that it does not wrinkle
Ironed shirts are easiest to keep in a closet on a hanger. Also, if necessary, it can be folded. It is done like this:
- We fasten the buttons on the product.
- Turn the back up.
- Fold the sleeves.
- Fold on the sides.
- We straighten and carefully fold the shirt in half.
- To prevent the collar from wrinkling, put a thin strip of cardboard in it.
This is just one of many options. You can find even more ways on another page of our portal of useful tips at the link “How to fold a shirt so that it doesn’t wrinkle?”.
to contents ↑Important! In a closet you need to fold shirts one on one, with collars in different directions. In the same way they fit into a suitcase.
Helpful hints:
- For light fabrics, check the purity of the steam so as not to leave stains on the product.
- Wrap a rolling pin or a bottle in a terry towel - this device will help you quickly and without wrinkles iron your sleeves.
- Before proceeding to the next item in the product, allow the previous one to cool slightly. This reduces the likelihood that the ironed fabric will wrinkle again.
- Before placing the product in a cabinet, after ironing, be sure to let it cool on a hanger.
Stock footage
Based on the above, it is not difficult to iron a shirt correctly, it is enough just to adhere to a certain algorithm. But the impression that you or your family will leave when you come to work or a party in such clothes will definitely be worth the effort and time spent.
- How to choose a jacket for men?
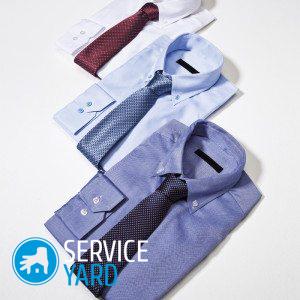
- Choose the color of the shirt to the pants
- How to determine shirt size for men?
- How to choose a tie for a shirt?
- Ironing board, which is better?
- Which men's shoes are better?
- Clothing Care Symbols
- Iron temperature
- How to remove the collar of a white shirt?
- How to starch a collar?
- Which fabric softener is better?
- How to fold a shirt so that it does not wrinkle?
 (No ratings yet)