

T-shirt prints 🥝 how to create and apply quality oneself at home
With the onset of heat, warm t-shirts and jackets are replaced by light T-shirts. Today we’ll talk about how to apply a print on a T-shirt with your own hands. The techniques described in the article require accuracy and certain skills, but if everything is done carefully, you will get a truly unique product. Is it difficult to create a print on a T-shirt for a guy? It’s worth trying, especially since today the handmade is at the peak of fashion. So, for the job!
to contents ↑Thermal transfer paper
This option is the most common. The technology itself is somewhat reminiscent of children's decals. If you do everything very carefully and without unnecessary haste, then a good result is guaranteed to you.
What will be required for work?
A good mood and a desire to do something with your own hands is a must. In addition, prepare:
- T-shirt - preferably white.
- Thermal transfer paper.
- Iron.
Important! You will also need a color inkjet printer. Special paper is sold at electronics stores. If you want to find it, it’s not difficult at all.
The requirements for the t-shirt itself are quite strict, because the quality of the applied drawing depends on this:
- The product should be monophonic, without prints, logos and images.
- The cotton content in the material is at least 85%. This is very important because otherwise the image will not adhere to the fabric.
Important! Why is white color desirable? Finding white thermal transfer paper is easier. Colored paper is also on sale, but it is more difficult to find, and it costs a lot.
DIY print on a T-shirt - preparation for work:
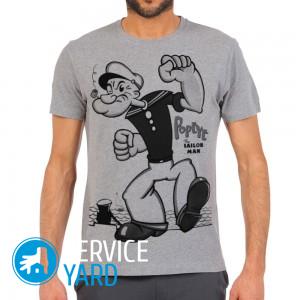
- First, decide which pattern you will apply to the t-shirt. It can be text, a logo, or just a cartoon character or a fantastic creature.
- Before you print a picture, do not forget to rotate it in the mirror direction. This is important, because when applied to the fabric you will get not a mirror, but just the correct display. This is especially important for text labels.
- Check the dimensions of the future image, and only after that print on thermal transfer paper.
Drawing process
This is the most crucial and serious moment if you are going to make a print on a T-shirt with your own hands:
- Lay the shirt on the surface of the ironing board. The surface should be perfectly flat.
- Take paper with a pattern printed on it, cut the image strictly along the contour.
- Lay the paper down on the fabric.
Important! If you want the print to be located exactly in the middle, use an ordinary school ruler or a centimeter tape.
- Turn on the iron at the highest power. After it heats up, iron the paper for 4-5 minutes. Paper and fabric withstand heat well, so you should not be afraid.
- Leave the product for 5-10 minutes to cool. Now you can remove the paper from the T-shirt - it is no longer needed. Do this carefully and slowly. In this case, the image on the surface of the fabric will be of good quality.
Of course, over time, such a print will lose its presentable appearance. But there's nothing to be done. Even branded products wear out. And there is nothing complicated in making a print on a T-shirt yourself. Now you have become the owner of a truly unique thing that you can brag to friends and acquaintances.
to contents ↑Use of dyes
Here is another interesting technology that will allow you to do a unique thing - beautiful, elegant and non-standard.
What do you need?
First of all, of course, a T-shirt. It is desirable that it was one hundred percent cotton. A perfectly acceptable option - 50% cotton and synthetics (polyester) In addition, you need to purchase:
- Dye for clothes. The number of colors and the colors themselves are a matter of your taste.
- Rubber gloves (for protecting hands).
- Pharmaceutical gum.
- Soda ash.
- Urea.
- Vials of plastic, in order to apply paint to the surface of the fabric.
- Plastic bag equipped with a jet lock.
In addition to this, you will need:
- Wooden stick.
- Glass with divisions.
- A basin or other large capacity.
- Paper towels. They will be needed so as not to stain the furniture with dye.
Important! It is advisable to purchase a ready-made coloring composition. You just have to dilute it in warm (in no case, not hot!) Water. If the finished dye was not on sale, buy dry paint and prepare it for work in accordance with the instructions.
Preparing the fabric for dyeing:
- To firmly grasp the paint, dissolve soda ash in water.
- Place the shirt in the resulting solution for 10 minutes.
- It’s nice to add 1-2 tbsp there. l of salt. This will increase the staining efficiency.
Important! Wear protective gloves. Soda ash is a little caustic, so contact with it can cause some discomfort.
- Before immersing a T-shirt in a solution, make sure that the salt and soda ash have completely dissolved. The water temperature is about 37 degrees.
- After 10 minutes have passed, remove the product and squeeze it well. You can use the spin function in the washer.
Important! If the product is brand new, it is advisable to wash it before dyeing.
- Lay the shirt on a flat, even surface in this way “face down”. In this case, the print on the t-shirt will turn out to be brighter and more colorful in front. Put the stick in the center of the product. Rotating it clockwise, you gradually twist the shirt “snail”. Make sure that the product does not rise up.
- Carefully remove the stick so that the resulting shape is preserved.
Important! If you can’t keep the shape, the print will turn out in the form of ugly dirty blots. To save the “snail”, secure it with pharmacy or office rubber bands.
- Lay the shirt on a paper towel surface.
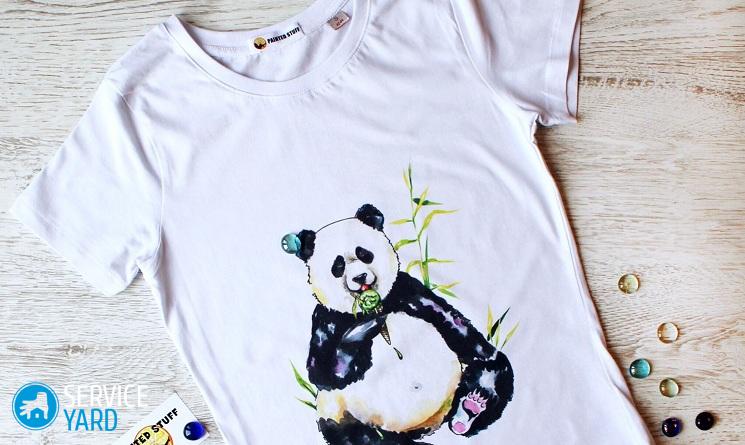
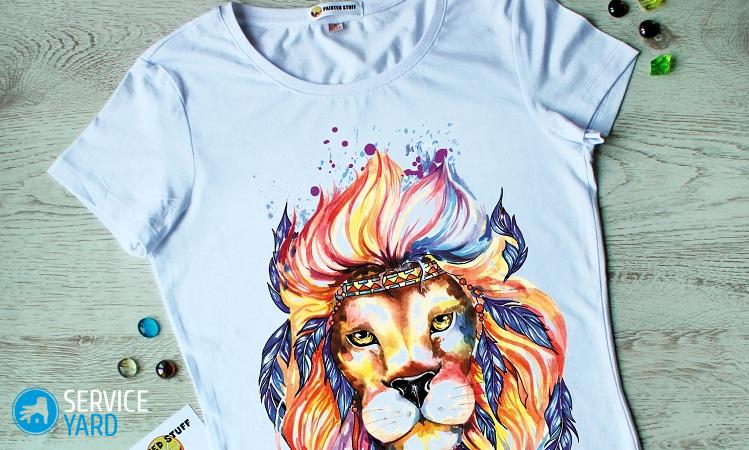
Now the most interesting stage begins - direct staining. Only 3 primary colors can be used: blue, yellow and red. When mixing paints, other colors are obtained, so that “rainbow” coloring is ensured for you:
- Apply each of the three colors to a third of the product, from the center to the edges.
Important! Keep the dye bottle as close to the product as possible - there’s less risk of dropping on furniture, flooring or your own clothes.
- Start with yellow, then it will be red and then blue.
Important! White space does not need to be left: unpainted areas “hide” inside. You should get a print in the form of a rainbow twisted into a spiral.
- Put the painted product in the bag with the jet lock and leave for 24 hours. During this time, the paint will have time to penetrate the fibers of the fabric. If you remove the t-shirt earlier, the print will not be very bright.
- After a day, remove the painted product from the bag, rinse with running cold water until the water jet becomes clear.
- It remains to wash and dry the finished thing.
Stock footage
By simple manipulations you get a truly exclusive thing. You will not find anything like this on sale, so you will definitely be satisfied with the result. True, it can not from the first, but only from the second or third time, when you “beat your hand” and fully understand the features of the process.
- How to choose a vacuum cleaner taking into account the characteristics of the house and coatings?
- What to look for when choosing a water delivery
- How to quickly create comfort at home - tips for housewives
- How to choose the perfect TV - useful tips
- What to look for when choosing blinds
- What should be running shoes?
- What useful things can you buy in a hardware store
- Iphone 11 pro max review
- Than iPhone is better than Android smartphones
 (No ratings yet)