How to glue thermal sticker on the jacket 🥝 how to glue the decal correctly on the fabric
Today, all kinds of prints on clothes are very popular. Stickers adorn trousers and jackets, t-shirts and sweaters, as well as other wardrobe items. They can be found both on children's clothes, and on an adult. Buying clothes with ready-made glued stickers is not difficult, but independent decoration with such a decor of your favorite item will bring considerable pleasure. How to stick a sticker on clothes? - We will offer you different ideas and ways to create an original decor on things in this article.
to contents ↑Why are thermal stickers needed and where to look for them?
How to stick a reflective sticker on jeans? Very often, interesting bright stickers are applied and glued to children's clothes, thus decorating the outfits that needlewomen-mothers sew to babies with their own hands. They are used not only for decoration, another time they help to mask the defect.
You can buy this decor in different places:
- In the trading network of many office supply stores, sewing accessories and supermarkets, ready-made stickers for clothes are sold, which can be quickly and easily applied to any fabric.
- If you want an original print, you can order decor in a printing house where you will be made a picture according to your individual design. Also possible make a unique print on clothes with your own hands.
- If you are a creative person, then it will not be difficult for you to make a sticker on your clothes yourself.
You will find interesting ideas and tips on how to make and fix stickers on t-shirts with your own hands below in the text of this article.
to contents ↑Varieties of stickers for textiles
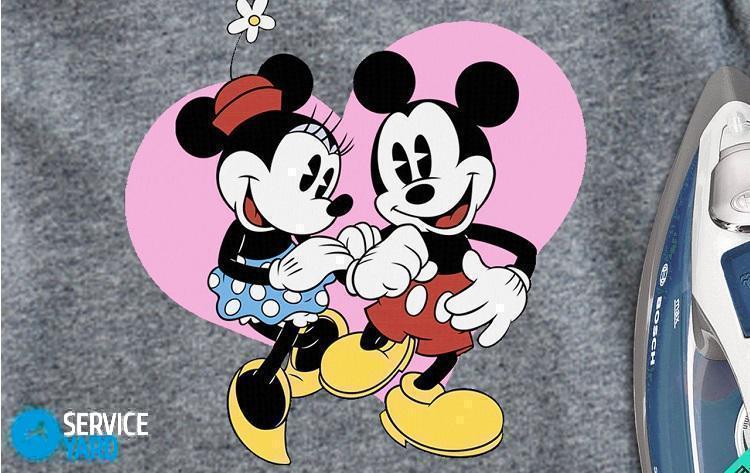
Many since childhood remember the stickers with Mickey Mouse when a torn favorite thing was repaired with a similar applique. Appliques on clothes were always funny and cute.
Nowadays, with the development of modern technologies and industrial capacities, the variety and quality of fabric stickers have gained a new round in production. Knitted T-shirts, t-shirts and sweatshirts with various prints are mass produced, and these prints are all the same fabric stickers.
Decals that are glued to clothes come in different types and sizes. There are also infinitely many design options:
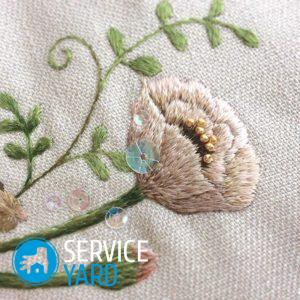
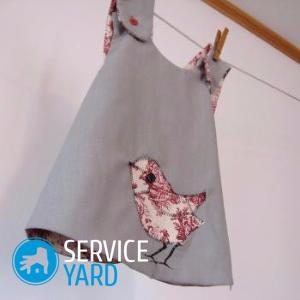
- Stickers that imitate machine embroidery are very popular.
- Simulations of photo printing look very interesting.
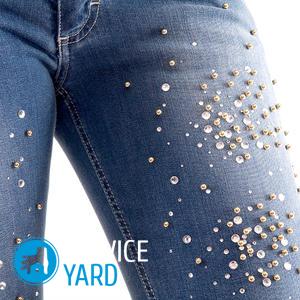
- If you just want to decorate boring clothes, you should choose decals from shiny elements and rhinestones.
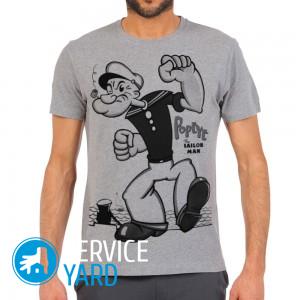
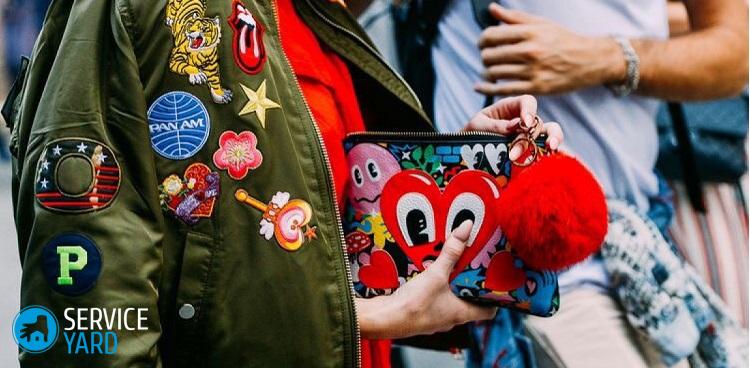
- Young people will definitely like stickers with emblems of fashion brands, logos of popular music groups.
- There are many among the decals and “neutral” images: floral motifs and ornaments.
- Kids stickers with the image of stylish cars, cartoon characters and fairy-tale characters will really please any kid.
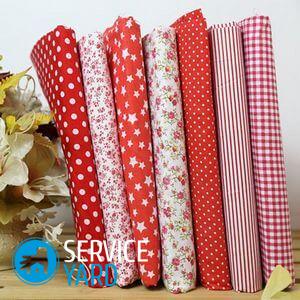
- Stickers can be made from flock, velvet, satin, satin or cotton. Most often they are glued to paper.
Important! Fabric stickers for clothes can be bought at any fabric and accessories store.
Neon stickers
In addition to simple thermal stickers, there are stickers that glow in the dark. They are widely used, applying on a special work uniform or on children's clothes, which will delight kids with their glow.
Important! If you are very interested in the idea of decorating clothes with your own hands, it is not at all necessary to limit yourself to only applications. Learn also about the following, no less interesting and fashionable ways:
DIY stickers on clothes
If the thought of self-decoration with a sticker on your dress or t-shirt scares you, then you simply do not know all the nuances of this process. In fact, making thermal stickers on clothes with your own hands is very quick, simple and easy.
Materials and Tools
To do this, you will need:
- A plastic bag with a high-quality image that will further decorate your clothes.
- Scissors.
- Parchment.
Important! Plain paper is not suitable for creating this type of sticker. Parchment can be replaced with baking paper, but it must be necessarily only beige. You can also use new paper baking tins in this case.
- Iron.
- The item on which the sticker is applied.
Instructions on how to make thermal sticker on clothes with your own hands:
- Cut the pattern from the bag.
- Attach the clipping to the place on the fabric where the sticker will be glued.
- Cover it with parchment paper.
- Iron well on top with a hot iron.
- If the sticker doesn’t stick very well, go over the hot iron again.
You can make a beautiful application not only from the package.
We make fabric stickers for clothes
You can also make your own fabric thermal sticker on clothes with your own hands. To make such an application, a printer that prints on fabric and an adhesive web is required.
Important! The glue spider web is a special double-sided tape that needs to be laid between the item and the sticker, and then held with a steam iron.
Manufacturing process:
- Print the image on the fabric.
- Cut the pattern.
- Stick the sticker on the fabric with a steam iron to the clothes using the glue web.
How to stick a sticker on clothes?
The store sells a wide variety of thermal stickers that are very popular in our time. Using them, you will close the hole, hide a stain or some other flaw on the clothes, or just refresh the thing that you already got tired of. When the thermal sticker is purchased, you need to prepare everything necessary for gluing it and follow the instructions outlined below.
Procedure:
- Prepare the surface on which you will apply the thermal sticker to the fabric. An ironing board is best for this. You can also use the table. In extreme cases, this can be done on the floor.
Important! Be sure to lay a dense fabric folded several times on a table or floor.
- Spread clothing on the surface evenly without wrinkles or wrinkles.
- Place the sticker on the fabric where it will be in the future, with the pattern down. The paper layer should be on top.
Important! On the wrong side of any type of decal there is an adhesive layer. It is especially noticeable on textile stickers that mimic embroidery.
- It’s better to “move” the picture in advance and imagine how it will look in the future on clothes.
Important! It is no longer possible to move the application after exposure to the iron.
- Be sure to stick ironing mode setting rules.
Important! To prevent the fabric from deteriorating, put paper on top of the sticker.
- Place the iron on the paper under which the sticker is located and press firmly. Hold for no more than 15 seconds. If the size of the pattern is larger than the iron, it should be pressed several times around the entire perimeter of the application.
Important! Iron the edges and small parts of the pattern well.
- Remove the paper from the drawing. This should be done very carefully.Make sure that the entire pattern is evenly laid. If you suddenly found a defect somewhere, you need to go through the iron again in this place.
Important! To prevent the sticker from reaching for the paper after removing it and not deteriorating, let it cool.
- If you are convinced that the entire pattern is evenly printed on the fabric, you can completely remove all the paper.
- After - iron the place of the sticker from the inside.
The application is ready! You can enjoy the result of your labor and wear the “new” old thing.
Important! DIY stickers on clothes it’s easy to apply, the main thing is to do everything correctly, point by point. If you make a mistake somewhere, as a result, you risk spoiling not only the applique, but also the clothes.
Stickers bought at a store or made by yourself are no different from one another. All of them will please you as long as possible. Such decor of fabrics does not require special care.

Fixing baby stuff with thermal stickers
No matter how neat your child is and no matter how hard he tries, small troubles certainly happen in the process of wearing things: either the stain on your favorite chocolate t-shirt will remain, or the trousers will tear. Do not scold children for such minor troubles.
If desired, these things can be put in order without much effort. There are various options on how to fix such a thing:
- The option of suturing torn elements is suitable when there is a certain supply of fabric for strength. This option is good when the hole turned out at the seam - it was sewn up, and there are no problems.
Important! In order for the seam to hold and not diverge, approximately 3-5 mm of “spare” fabric is needed.
- In the case when a hole is formed far from the seam in a prominent place, it is better to eliminate it by gluing it on both sides.
Important! You need to repair a thing as soon as a hole appears, until the edges are frayed.
How to stick thermal sticker on clothes to patch a hole?
When the hole is “fresh”, there should not be a problem with its elimination. Especially if the gap occurred along the jacket fabric and the lining and insulation remained intact. In this case, only the top layer of fabric needs to be repaired from the front side:
- You will need thermal sticker and a piece of thin non-woven. These elements should be at least a centimeter larger on each side in area than a hole.
- Inside, gently lay the non-woven through the torn facial fabric of the product.
Important! Flizelin must be put with the adhesive layer up, that is, from the inside to the torn fabric itself.
- You can do without thermal stickers. It is enough to glue the inside of the hole with non-woven material. In this case, the edges should be carefully aligned so that the interlining is not visible. Better yet, choose a non-woven fabric for the color of the product.
- In addition to attaching a sticker to a problem place, you can stick the same decor, for example, on the pocket of a jacket. It will turn out as a factory decoration.
to contents ↑Important! If you just sewed a hole, it is unlikely that your thing would have remained the same presentable appearance.
Subtleties of working with stickers:
- If the base of the sticker is transparent, it is necessary to iron it through gauze.
- If after washing the fabric sticker still peels off, the glue spider web will help to restore the picture.
Important! In order to prevent decoupling after washing, it is better to wash such things in a gentle mode. The washed thing on which the sticker is applied should not be squeezed out strongly.
Stickers on clothes: a business idea
When you already know how to properly stick labels on clothes, you can open your own business. Where do you need to start, in this case? What materials will be needed?
Opening such a business does not require a large initial capital:
- You can start by decorating clothes for acquaintances, applying an original applique on it.
- Then you can buy in bulk plain t-shirts and independently apply them, for example, the original inscription or the famous cartoon character on children's t-shirts.
- For young people, you can stick in English letters the statuses or slogans that are currently popular.
to contents ↑Important! Selling such t-shirts, you can invest in further business development, and open your own small boutique or online store where you can already take orders for applying original inscriptions and drawings to the fabric.
Stock footage
Thermal stickers are the most inexpensive and easiest way to decorate or repair clothes on your own today. Some craftswomen even collect a collection of such applications. And that is a good decision. It’s very convenient to always have such a set on hand to use it when inspiration visits you once again and you want to decorate one of your things, or you have to urgently repair a damaged outfit.
 (No ratings yet)