Do-it-yourself envelope 🥝 what size plaid into a stroller for a child
The birth of a baby is always accompanied by great joy and a lot of trouble. Each mother wants the first day that relatives meet the child to become an unforgettable event in the life of the family, so young mothers begin to look after the baby’s blanket for the baby’s discharge long before the baby’s birth. The first piece of clothing should protect the newborn from the scorching sun, bad weather and, of course, decorate. You can buy an envelope for the baby in the store, but it is better to make a blanket for discharge with your own hands, choosing the best style for the crumbs and thinking through all the details. If you decide to sew a beautiful baby blanket (duvet cover) for an extract with your own hands, then you can use the ideas and tips from the article.
to contents ↑Correctly determine the model of the envelope
An envelope is essentially the baby’s first clothing. In it, the baby is taken from the hospital, taken out for walks. Thanks to patterns and step-by-step master classes, a summer or winter blanket-envelope will turn out even for that woman who had not been engaged in sewing before. The main thing is desire and creative inspiration.
General rules
To properly make an envelope-blanket for discharge with your own hands, you need to learn the basic requirements that are put forward to the product:
- Naturalness. Materials should only be natural and hypoallergenic.
- Comfort The fabric should be pleasant to the touch. In addition, the fabric should retain heat well and not emit toxic substances.
- Seasonality It is necessary to select material, depending on the season and destination. For summer models, dense fabric is enough, for example, embroidered or embossed cambric. For winter models, velor, fleece and multilayer insulation are required.
- Convenience. The product must fit the size of the baby. In the envelope, the child should feel comfortable, but not cramped. The seams on the product must be carefully processed.
- Security. Decorative decorations - ribbons, ribbons, fringe, should not create discomfort for the child.
- Functionality and beauty. If the envelope is intended for discharge, then you need to decorate it so that the first clothes are elegant and festive. If you plan on walking in the fresh air with this blanket, it makes sense on the back side to provide a pocket for the mattress.
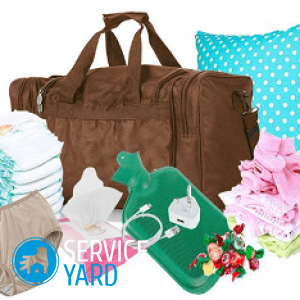
Important! When preparing for the upcoming event in your life, do not miss important points. Find out more and at the same time check whether you have forgotten anything from our articles:
Advice:
- The envelope for the child is intended from birth to 9-12 months, so you will need not one envelope, but at least 3: for discharge, summer and winter versions. In summer and spring, you can use one envelope or corner.
Important! You can save some money and sew temporary decorations to the elegant envelope for discharge, which can then be easily torn off. In this case, your model will look appropriate both on the extract and on weekdays.
- Since there are a lot of envelope models (universal, bags with and without sleeves, with a hard back), you should choose the model that matches the purpose chosen for it.
Important! We recommend choosing a transformer model as the most convenient of all available, since when visiting, for example, a polyclinic, an envelope can be easily turned into a blanket or a mattress, and then vice versa.
- If you have the makings of a seamstress, then you can make a pattern for the envelope yourself or download the diagram on the Internet, now you can find many MKC photos and videos there. But if you've never sewed before, then choose a simpler model option.
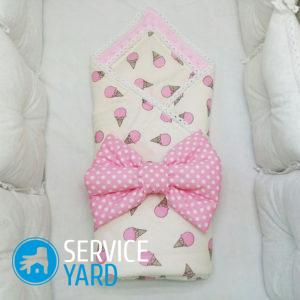
to contents ↑Important! As a rule, a blanket for discharge is made in the form of a square. The size of the finished product in length is usually 75-100 cm, and in width 85-100 cm (unfolded) and 45-50 cm (folded).
How to sew a blanket for discharge with your own hands? Master Class
In order to sew a plaid envelope for a newborn with your own hands, you need to have the following materials and tools:
- Two types of fabric (for the inside and outside). The inner side should be made of cotton fabric, the outer decorative side can be made of satin, silk. You can make a blanket from the same fabric, for example, from satin, cotton or poplin.
- Elastic band and ribbon for decoration on the front side of the product.
- Lace for decoration. To decorate the envelope for discharge with your own hands, use two types of lace-organza: wide (at least 1-1.5 m) and narrow (80 cm).
- Scissors.
- Locking pins or needles.
- Tape measure.
- Sewing machine.
- Filler (synthetic winterizer).
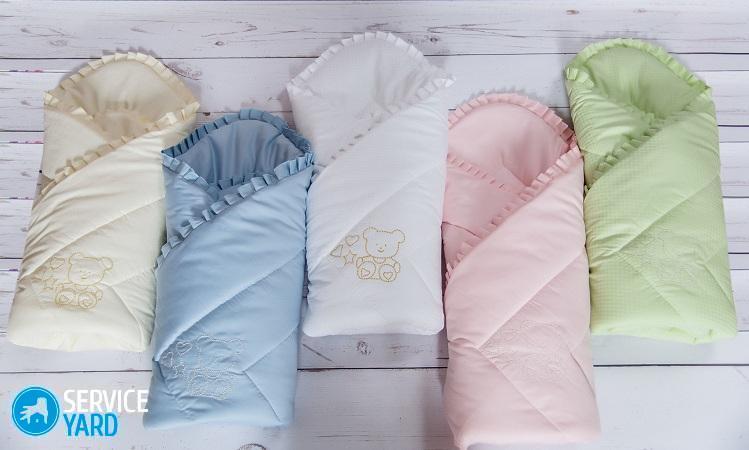
We offer you several options for blankets for discharge, and you choose the model or kit that is more suitable.
Important! Remember that little children spend their first months of life exclusively in a supine position. And to make it easier for you, and the baby to grow up healthy, you must provide him with suitable conditions. Be sure to read which one is suitablemattress for newborn.
A lush quilt:
- Cut two squares of fabric and one of the same from sintepon. The side of each square has the length of the proposed product plus an inlet of 1 cm on each side of the seams.
- Select one of the fabric squares and place it face up on the table.
- Place the organza on the corner of the square so that the lace cut lies on the cut of the material, and the lush part of the organza is light on the fabric, and not around it.
- Sew the lace by hand with a simple stitch.
- Similarly, lay the narrow lace on another fabric square, sew it.
- Wrap the ends of the lace cut from the sides and sew to the seam.
- Fold all the details of the structure in this way: first the part is made of synthetic winterizer, and on top are two parts made of fabric, folded facing each other.
- Fasten the structure with pins or needles so that the blanket does not lead while sewing.
- Sew the blanket around the perimeter, backing 1 cm from each edge. Leave a small window (15-20 cm) not stitched.
- Turn the blanket out through the left window and sew the hole manually with a blind seam.
- Quilting the blanket up and down.
- Decorate the blanket with voluminous colors made from the same fabric.
Check blanket with terry center
To make this model you will need:
- Two types of fabric. The inside should be made of terry cotton fabric marked “baby”. Such material is sold in the store, in extreme cases, you can use a children's blanket on this part of the product.
- Synthetic winterizer.
- Ribbon for decorating the blankets from the outside.
Step-by-step instruction:
- From the front fabric, cut a long strip 12-15 cm wide.
- Fold the strip in half, grind along the cut edge.
- Sew the resulting tape to a square piece of fabric with a simple seam.
- Spread a piece of the outer fabric face up on a flat surface.
- Lay the fabric tape around the perimeter of the fabric so that the seam of the tape coincides with the seam of the fabric. The free portion of the tape should lie on the fabric, not around.
- During sewing, the tape will need to be assembled into small or large assemblies.
- Cut a square terry piece for the inside of the blanket.The difference in length should be 10-12 cm on each side.
- Sew the missing length of the second fabric with stripes around the terry square.
- Connect together all the details of the blanket: a synthetic winterizer, and on top two fabric parts folded facing each other. Laces sewn in advance should be between the layers.
- Connect all the details of the workpiece with pins, sew them on a sewing machine, departing from the edges by 1 cm. As in the previous case, leave the window un sewn.
- Turn the blanket through the window, sew the hole manually with a blind seam.
Advice:
- If you want to decorate the front with a pattern, then do it in advance before you start stitching all the details. As a pattern, you can use a thin satin ribbon.
- If desired, you can make one corner of the blanket rounded. To do this, make a rounding on a terry piece of cloth.
Important! When you have practiced the design of the blankets, you can try your hand at a slightly more complex version. Learn how to stitch different things for the newborn - patterns and master classes will help you to provide your baby with high-quality and comfortable clothes without any problems.
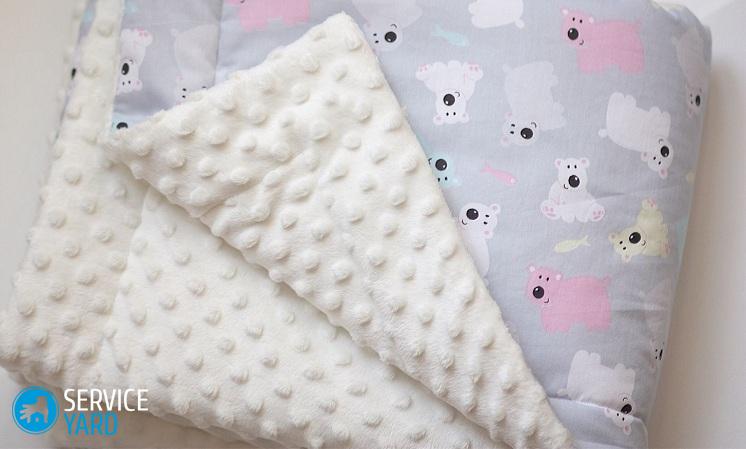
How to sew a double-sided blanket for discharge with your own hands?
Do-it-yourself quilting for discharge is a very interesting and economical option, since you can change the sides of the plaid according to your mood. To make it you will need:
- The fabric is of two colors, but of the same composition and quality. It is better to choose two contrasting colors for such a blanket, for example, gray and red or blue and white.
- Synthetic winterizer.
- An elastic band for a belt or a flypaper for edges of an envelope.
The process of making blankets for discharge is as follows:
- Cut the same squares from two fabrics and synthetic winterizer (the size of the intended blanket plus 1 cm).
- Lay the synthetic winterizer first on a flat surface, and on top two fabric squares facing each other.
- Sew the seams and leave a window through which to turn out the blanket.
- Sew the window manually with a blind seam.
- Quilt the product obliquely with rhombs for greater durability.
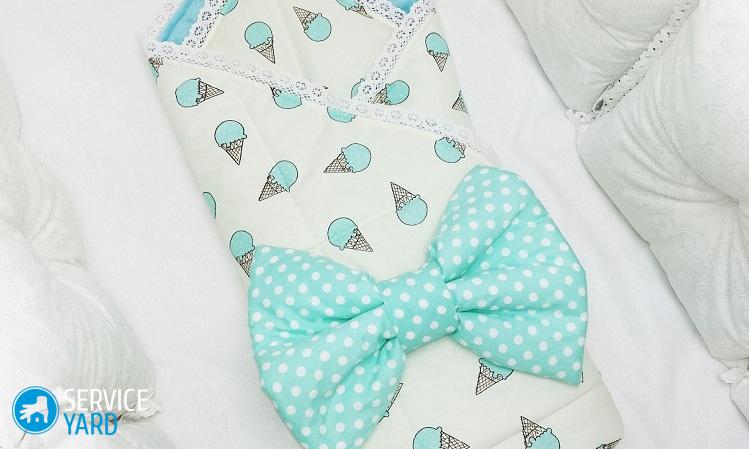
Sew a belt or bow for the envelope. It can also be two-sided for contrast:
- For the belt, cut two strips 12 cm wide from each type of fabric and sew them face to face.
- Turn and stitch the edges together.
- If desired, you can insert an elastic band into the belt, and as a decor sew on the belt a voluminous bow or a flower made of fabric.
Important! If you do not want to make a belt, then sew on Velcro, for which the folded blanket will cling and not unfold.
Transformer envelope for extract
The envelope, which is laid out in a blanket, is very practical and convenient. With it, you can organize a sleeping place for the baby anywhere. Sewing such an envelope is very simple, you only need to prepare:
- Fabric (2 layers or 3 depending on the season). To make an envelope, you need squares with a side of 1.1 m for the main product and a piece of fabric for the pocket (50x30 cm).
- 2 zippers - 50 cm in size for the front of the envelope and 30 cm - for the top. When zipped, the zipper will help form a hood.
- Elastic band (50 cm), drawstring.
- Decor elements: ribbons, lace, organza, etc. if desired.
Step-by-step instruction:
- Cut out the details of the envelope from all layers of fabric.
- Stack your pocket. Decorate your pocket as you wish.
- Prepare a 2 cm elastic seam, insert the elastic with a drawstring into your pocket.
- Connect the layers of the blanket, attach the pocket.
- Sew a zipper (50 cm) to the sides of the blankets that will form the envelope shelf.
- Sew a zipper (30 cm) from the middle of the top of the blanket.
- Decorate the product to your liking.
Winter envelope for the newborn
The model for winter should be not only beautiful, but also warm, so the envelope should consist of several layers: external, internal and insulation. In addition, it is good if the envelope will have a hood that protects the baby from the wind.
When choosing a material for the winter version, give preference to the following:
- Tweed.
- Plush.
- Fleece.
- Denim
- Faux fur.
- Thick knit or flannel as an internal fabric.
Important! The insulation can be from synthetic winterizer, holofiber. Sheepskin is also valued, but some children may be allergic to this material.
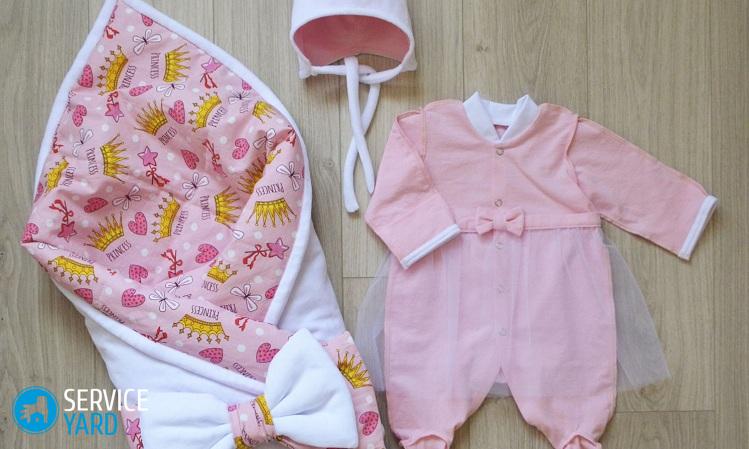
For the winter, mothers usually choose the baby not just an envelope or a blanket, but a jumpsuit bag with sleeves and a hood. In this outfit, the baby will not freeze even in the cold.
To sew the winter version of the blanket you will need:
- Fabric for inner and outer layer.
- Heater (120x150 cm).
- Zipper.
- Applications and other decor as desired.
The whole process of sewing overalls is reduced to the following steps:
- Making patterns of a sleeping bag-overalls and transferring parts to paper and fabric. The finished pattern can be found on the Internet or done by yourself.
- Cutting all the details of the overalls.
- Stitching product layers.
- Making sleeves.
- Sewing sleeves into the product and supplementing them with elastic.
- Stitching the side seams of the product.
- The manufacture of the hood and its fixation to the product. A drawstring with a drawstring is inserted into the finished stitching in the hood.
- Flashing zipper to the envelope shelf.
- Dressing up the product.
Useful Tips:
- Laces and ribbons for decoration should be several times longer than the measurements. This will make it possible to form beautiful folds.
- If you do not know how to decorate an envelope for an extract with your own hands, then use the following elements:
- Ruffles.
- Satin ribbons.
- Bows.
- Braid.
- Beads.
- Embroidery.
- Applications.
Stock footage
Today we told how to sew a blanket for discharge for newborn princesses and princes. The options described above for delicate, graceful envelopes with original decor will not only please everyone around with their beauty, but also warm the warmth of the maternal hands of the little inhabitants of planet Earth.
 (No ratings yet)