

How to check the evenness of the walls?
When carrying out repairs, a very important procedure is to check the evenness of the wall surface. Especially in old buildings, in stalinka and Khrushchev, this factor is very relevant, since at the time of construction this issue was not given due attention. The presence of curved walls, the presence of dents and bumps and other defects on them can completely spoil the impression even with the most elegant repairs. In our article we will look at how to check the evenness of the walls.
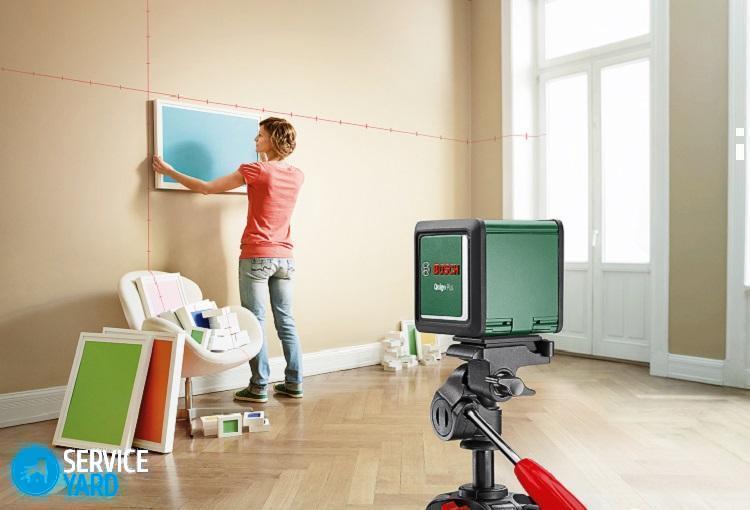
to contents ↑What is a level?
The laser level, or the so-called level, is a device due to which it is possible to build horizontal and vertical stripes with high quality. In addition, he is an indispensable assistant in the construction of structures and during interior decorating.
The level contains LEDs and prisms, which are characterized by visible vertical and horizontal lines. Thanks to the laser level, there is the possibility of building even walls, leveling the beacons, leveling the floor, ceiling and other surfaces, quickly and evenly laying out tiles, laminate and other works.
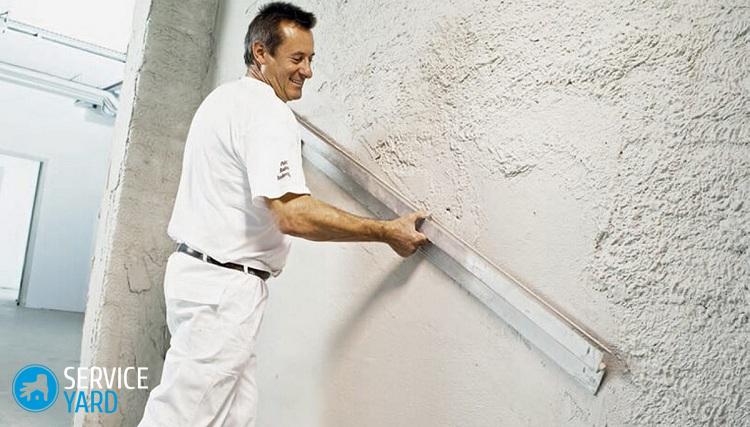
to contents ↑Estimation of the curvature of the rough wall
Assessing the curvature of the rough wall helps to determine the amount of work and make an approximate list of future material consumption. The work of the level occurs by constructing a virtual plane that is parallel to the wall surface and measuring the distance from the vertical plane to the previously marked points.
How to check the evenness of the wall with a laser level:
- We select a mode at the laser level that helps to build a vertical plane, since the wall surface is located vertically. In the case of such work, a horizontal plane is displayed on the floor.
- We move the level as close to the wall as possible, while the plane should be parallel to the wall, the beam should not touch it anywhere.
- We prepare a ruler (roulette does not fit), which we apply at different points to the wall. The resulting trace from the laser level determines the distance from the wall surface to the virtual plane.
- At different levels, every 40-50 cm we take measurements, which we enter in the table.
Thus, it is possible to determine the point that corresponds to the most convex and the most concave lines, find the overall roughness compared to the base vertical and determine the amount of plastering work.
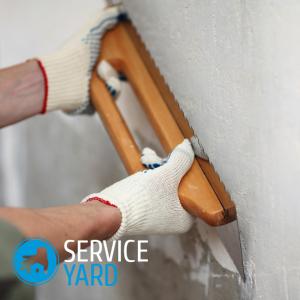
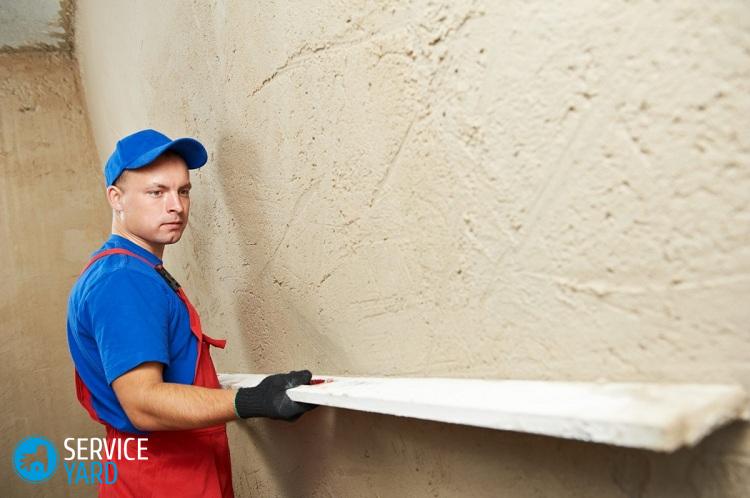
Evaluating wall evenness using a rule
Without applying a laser level, you can check the evenness of the wall surface after finishing using the rule.
How to check the walls for evenness after plastering using the rule:
- We attach the device to the wall surface, determine whether there is a gap between the wall and the rule.
- Using a ruler, measure the amount of clearance. Basically, the roughness of the finished wall corresponds to several millimeters, so it is very difficult to determine the value with a ruler.
- We use a laser level, thanks to which you can conduct a more accurate measurement.
- When determining vertical evenness, we turn on the vertical axis construction mode. If it is necessary to determine horizontal evenness, then we use the horizontal axis.
- For convenience, draw the appropriate line on the wall surface.
- We position the level at an angle of 45 degrees to the wall surface.
- The resulting laser line looks straight only if the wall surface is perfectly flat:
- If there is a bubble on the wall, then in this area the line will deviate towards the level.
- If concavity is present, then at this point the beam deviates from the vertical line to the side of the device.
- When installing the tool at an angle of 45 degrees, the size of the roughness is determined, which corresponds to the distance from the drawn beam to the bent line.
Important! The level can also be used to determine the evenness of angles. In this case, the beam is aimed at the joint of the walls and thus check its verticality. If there is an even angle, then the beam will be located strictly. Otherwise, you can immediately see the roughness of the angle when it is littered in one direction.
Currently, the level is a very convenient tool. In the old days, they used old-fashioned methods and somehow managed without this device, but now the use of the level saves time and effort in many ways, facilitates the repair process, so you should use the latest technology and not abandon modern developments.
Checking flatness on a large wall area
This technique is convenient to use when determining the volume of plastering, but can also be used at the time of completion of painting and plastering to assess the quality of the completed process. Basically, before plastering, visually you can determine the differences on the wall, which are already noticeable.
How to check the evenness of the wall after plastering over a large area:
- We prepare the laser linear level (plane builder) and turn on the vertical plane.
- We set the laser level near the edge of the wall, while the vertical laser plane should be parallel to the wall surface.
- On the floor along the entire wall we make marks that should be at the same distance from the wall surface A and B.
Important! The builder builds a plane that is parallel to the planned surface of the wall, treated with plaster (not the plastered surface itself, but a plane that is parallel to it).
- Evaluate the work. If a wall fragment that does not have a laser beam appears on the wall opposite from the level, this indicates that the beam is interrupted due to the presence of a bulge on the wall.
- Move the laser level from the wall surface and mark new points A and B.
- In order to check the differences on the wall surface in one vertical section (from the floor surface to the ceiling), we take a wooden or steel meter that has a millimeter scale. There should be no moving parts on the tool.
Important! Almost every roulette is equipped with a movable hook, so roulette is not suitable.
- On the selected vertical section of 1-2 cm, set the meter parallel to the wall surface. In this case, the free end of the meter should abut against the wall at right angles to the wall surface, and the laser line should appear on the plane of the meter. Thus, the first value corresponding to the distance from the base laser plane to the wall surface is found.
- Then in the same vertical segment we rearrange the meter a little lower, determine a new value.
- We measure as many times as necessary.
- Now we compare the obtained dimensions along the vertical line with the data on the vertical segment of the wall surface after 40-50 cm, thus curving the wall relative to the base vertical is found.
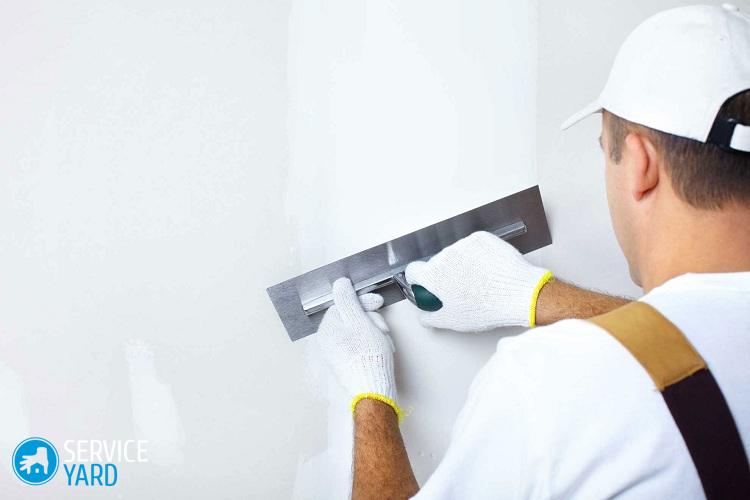
Check for evenness in a small area
After finishing the plastering work and preparing the wall surface for painting or wallpapering, on the wall, as a rule, there are roughnesses of 1-3 mm, which are inconvenient to find with a ruler.Defects are especially pronounced on walls prepared for painting and painted in dark colors, on which direct sunlight falls at an angle. There is a simple technique that is used to determine the evenness of the wall after final finishing until the moment of wallpapering or painting.
How to check the verticality of the wall in a small area:
- At the beginning of the measured wall, on the floor surface we visually mark the square, which can be denoted by any objects or drawn with chalk. Such a figure is needed in order to subsequently put the builder at an angle to the wall that you need.
- We make marks: point A corresponds to the laser plane perpendicular to the wall, point B defines the laser plane at an angle of 45 ° to the wall surface.
- Then we find the points C, D, E, which are determined by dividing the corresponding segment between the wall and the previously selected mark. As a result, the values of the angles are obtained: 45/2 = 22.5, 22.5 / 2 = 11.25, 11.25 / 2 = 5.62.
- At the moment the plane falls onto the wall, it is flat at any angle only if the wall is characterized by a perfectly flat surface. The presence of irregularities bends the beam, and the sharper the angle, the greater the curvature observed.
- In areas of irregularities, the beam will bend relative to the center point of the measured fragment:
- If the beam is bent from the builder, that is, point A1, there is a hole in this place on the wall.
- If the beam is bent in the direction of the builder, which corresponds to point A2, then the wall is characterized by a bulge.
- When the horizontal beam is tilted at an angle to the wall (in this case, the builder should be tilted relative to the horizontal plane), then an unevenness from left to right will be determined on the wall, which corresponds to horizontal curvature, and not top-down, which is observed with vertical curvature.
Important! Failure or bulge can be calculated in millimeters. To do this, you will have to recall the trigonometric formula from the high school course. We will use the cotangent, which is defined as the ratio of the leg adjacent to the corner (which corresponds to the distance A1), to the opposite leg (which is the desired value, that is, the unevenness of X).
By changing the angle of incidence of the beam on the wall surface, the ratio of A1 to the desired value of X changes. The smaller the angle of incidence, the larger the value of A1 or A2, the greater will be the coefficient: A1 / ctg “angle of incidence of the beam on the wall” = X.
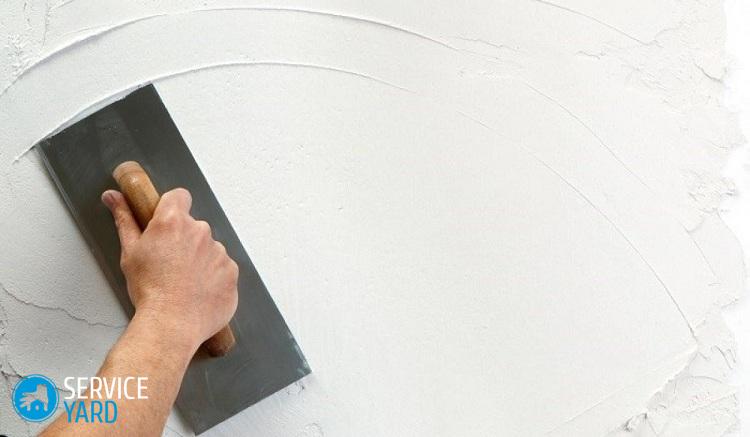
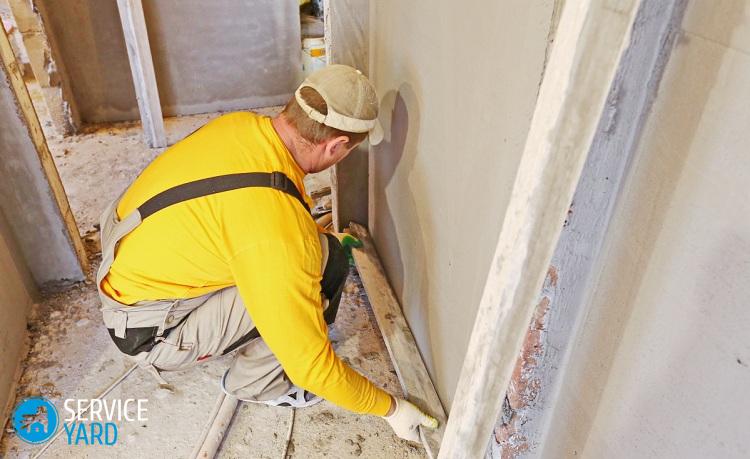
Plastering with lighthouses and level
This method is one of the most accurate and fast modern methods in which a perfectly smooth surface is formed in a short time.
How to do the job with the help of level and lighthouses:
- Pre-prepare and process the surface with a primer.
- We mark the vertical lines on which the beacons will be located, departing from an angle of 10 cm so that the distance between adjacent ones corresponds to 15-20 cm less than the length of the rule.
- On the laser level, we turn on the mode, thanks to which we arrange the vertical plane.
- On adjacent walls that are adjacent to the repaired wall surface, mark points having a distance of 5 cm from the corners.
- We put the level plane on the marks.
- At a distance of 4 cm from the edge we make marks on the rule.
- With the help of the level, we set the rule vertically according to the marks, as a result, a gap is obtained between it and the wall, which, depending on the roughness, corresponds to plus or minus 1 cm.
- We install beacons in the obtained gap and make sure that they will pass at any point of the installation, even if it is necessary to move the laser vertical plane.
- After the final marking and monitoring of the actions performed, we prepare the plaster and process the wall surface with a small amount, observing the marking every half meter.
- We put the beacon to the wall surface and process it with plaster.
- We attach the rule to the lighthouse, in the necessary places we correct, knock out, so that the marks on the rule coincide with the laser beam. If you perform this procedure with your hands, and not with the rule, you can bend the beacons.
- We remove excess plaster from the lighthouse and the rules.
- Once again, we control the verticality of the lighthouse and leave it for a while so that the lighthouse can freeze.
Important! The drying time is affected by the amount of plaster and the surface material.
- We pass to the next lighthouse.
- After drying all the lighthouses, we prepare the plaster mixture, which we apply between the two lighthouses.
- Slowly move the rule to the beacons from the bottom up and, shaking the tool left and right, smooth the plaster.
- We remove the excess mixture from the rule.
- Using a trowel or spatula, fill the cracks in the wall surface.
- Using the rule, we make the finish pass.
- We proceed to the next two lighthouses.
- As a result of the work performed, an almost perfectly flat surface is observed, which is ready for the finish.
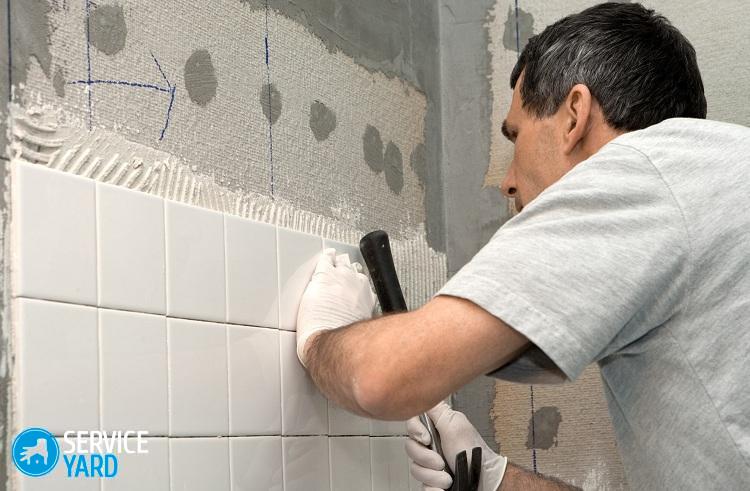
In addition, the level finds application in the construction of a right angle in the bathroom or in the kitchen, as well as for the installation of furniture that has large dimensions. In this case, you need a tool that allows you to build vertical perpendicular planes. Currently, almost every model has a similar mode. How to check the evenness of the walls and draw the necessary perpendicular planes:
- By the marks that were noted when aligning the wall, we set the level relative to the prepared wall surface. You can also mark new marks, and then check that the laser plane is perfectly parallel to the wall surface and beat off a right angle.
- After that, mark the adjacent wall.
- Following the above instructions, beat off and set the beacons.
- We process the wall surface with a plaster composition.
- As a result, an angle corresponding to 90 degrees is obtained between the planes.
Stock footage
In this article, we examined many stages of construction and repair work, during which it is appropriate to apply the rule and the laser level to check the evenness of the walls. Do not ignore all the points listed above so that the quality of the new design of your home meets your expectations.
- How to choose a vacuum cleaner taking into account the characteristics of the house and coatings?
- What to look for when choosing a water delivery
- How to quickly create comfort at home - tips for housewives
- How to choose the perfect TV - useful tips
- What to look for when choosing blinds
- What should be running shoes?
- What useful things can you buy in a hardware store
- Iphone 11 pro max review
- Than iPhone is better than Android smartphones
 (No ratings yet)