How to hammer a nail into a concrete wall?

It would seem that it could be easier than hammering a nail? If we are talking about a wooden surface - even a teenager can handle this. But to equip an apartment with concrete or brick walls is a completely different matter. An inexperienced master takes a hammer, and discovers that he is unable to do anything. Do not give up, if you wish, you can overcome any obstacles. Learn how to hammer a nail into a concrete wall from this article.
to contents ↑Determine the size
The walls of any home I want to decorate. Paintings, lamps, shelves - but you never know what needs to be attached, and so that with the slightest draft it does not fall on someone’s head. Before you drive a nail into a concrete wall, you need to determine the size of what you will hang your shelf or picture on. However, the same should be done if you are dealing with any other material:
- Measure the thickness of the surface to be nailed.
- Divide it by 4 - this will be the cross section of your nail.
Important! A nail of a smaller cross section can be taken if the object is light, but it is not worth more, the board can simply fall apart.
Measure length
In the hardware store you will find dozens of types of nails - of all possible sizes, from the very tiny ones that hold the thin wooden frames together, to the huge ones so that you can hang a pretty metal plate. The length of the nail must be treated very carefully. The tip should not stick out on the other side of the wall, but at the same time, the length should be sufficient to hold the object that you are mounting in this way.
Determine the length as follows:
- Measure the approximate wall thickness into which you intend to drive the nail.
- Divide the result by 3 and multiply by 2 - the nail should go into the wall two-thirds of its thickness.
- Add to this number the thickness of the item you are going to hang.
What else will you need?
What else do you need to think about before hammering a nail into the wall? Of course, about the tools. You need:
- hammer;
- drill with drill for concrete;
- small diameter drills;
- pliers;
- pencil or marker.
You may also need a level and a tape measure (or a folding meter), but it depends on what exactly you are going to fasten. Of course, there are ways to drive a nail without a drill (for example, into a wooden partition), so this tool is not always needed.
As for the hammer, then, of course, you can not do without it. And you need to choose it carefully:
- the handle should be comfortable;
- the head should sit tight and not jump off.
Hammer sizes
It is very useful to have several hammers of different sizes on the farm:
- MCT-1. The small hammer МСТ-1 is suitable if you need to connect two wooden boards and the length of the rod does not exceed 4 cm. It weighs approximately 250 g, it has a relatively small and convenient handle - 25-28 cm, and a working surface - 9 cm.
- MCT-2. With an MCT-2 hammer with a handle length of 30-32 cm and a working surface of 11 cm, it is convenient to drive in nails of medium size. It weighs about 500 g. It is almost universal, so if you want to have only one hammer, it is best to choose it.
- MCT-3. The MCT-3 is quite heavy, has a mass of 1000 g or so. It’s inconvenient to drive in small nails. It has a large work surface of 13 cm and a long handle - 35-37 cm.
If you can hammer a nail without a drill
You can hammer a nail into a wooden wall in the most common way. But, if you have never done this before, you will immediately find that this seemingly uncomplicated work has its own subtleties. First of all, the question arises: how to put a nail and how to hold it so as not to hit the hand with a hammer? So knowledge of some subtleties will not be superfluous:
- Mark the place where you are going to drive the nail.
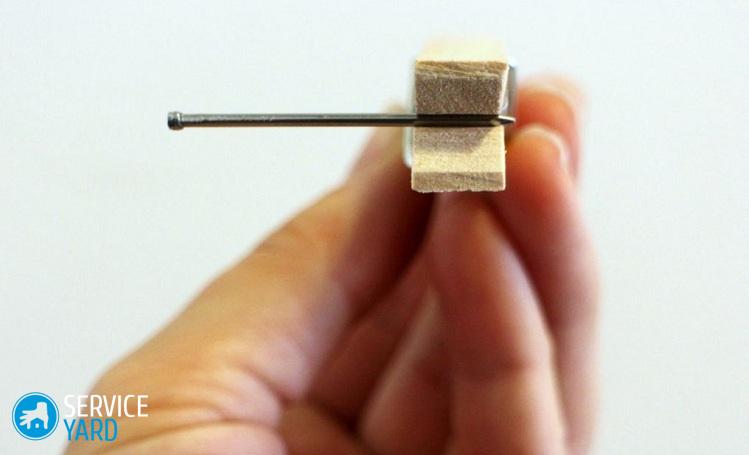
- Take the nail by the middle of the rod - you need to take it in your left hand (unless, of course, you are right-handed), with your thumb and forefinger.
- Point the tip to the intended place.
- Place the rod perpendicular to the plane (although there are exceptions when driving diagonally).
- Take the hammer in your right hand (left-handed, of course, everything will do the opposite).
- Apply 2-3 confident blows - they may not be particularly strong, but they must hit the hat exactly.
- The nail should penetrate the surface about a fifth of its length, sometimes this is enough.
- If the rod needs to be driven deeper, apply a few more blows so that only a hat or a small piece of the rod remains on the outside (if something needs to be hung, but not nailed closely).
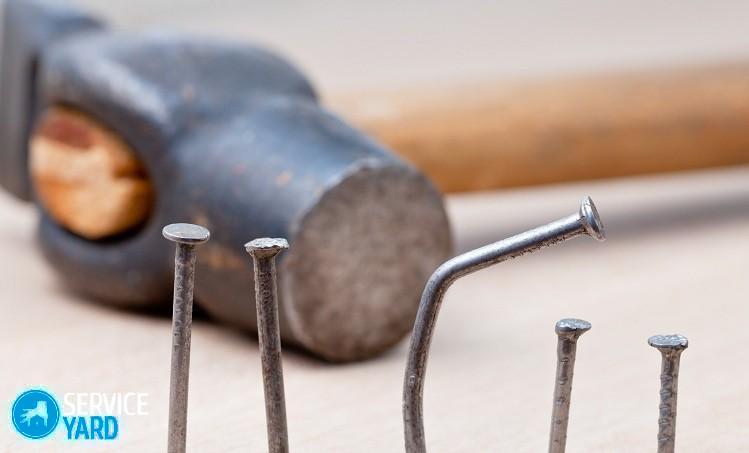
Important! Keep in mind that your not-so-confident actions can cause the rod to bend. This is extremely inconvenient, and the question always arises of what to do in this case. You can, of course, unbend the nail and try to hammer it again, but do not be surprised if it again bends in the same place, or even breaks. Unfortunately, high-quality metal is not always used for the manufacture of fasteners, which causes similar problems. There is still a way out - to drive in a nail, as it is, that is, in a bent form. But this method is not always suitable.
Troubles with a tree
There are times when the wood seems to be soft, but it is not possible to break through it, and the matter is not in the strength of the blows. Most likely, you did not correctly identify the place and the tip fell into the seal. You can do this in two ways:
- Pull out the tip and drive it near.
- Pull out the nail, make a small hole at the same mark with a thin drill and insert a point already into it, while the diameter of the hole should be less than the section of the nail.
Important! The more accurate the impacts and the less the tip moves in the process, the stronger the joint.
We hammer from the end
The butt of any board is a vulnerable place. Sometimes it is necessary to hammer nails there too, but there is a rather big risk that the product will crack. The fibers in this place are easily torn. But you can make them diverge, and then the connection will be more durable. The most reasonable way to do this is to drive a nail into the wall:
- Drain the tip slightly so that it becomes dull - a regular file is suitable for this.
- Mark a hole in the end.
- Drill a small hole at the mark - the drill should be thinner than the rod.
- Drive in a nail.
Some more useful tips
Wanting to firmly connect wooden surfaces, consider a few more points:
- If the tip is lubricated with soap, the risk of chopping the board is reduced.
- There should be gaps between adjacent nails, you can not drive a lot near - this reduces the strength of the board.
- If the surfaces are thick and the nails are large, it is best to grab the fasteners with pliers.
- It is convenient to fix various objects to the plaster with the help of a punch.
- To break through a wall covered with wallpaper, paper or non-woven is cut with a cross, the corners are bred, a nail is driven into the hole, and then, if necessary, the edges are glued.
Concrete wall
Everything is clear with the tree, this is soft material, therefore additional devices are rarely needed. Is it possible to hammer a nail into a concrete wall? There is nothing impossible, but you will have to try. First, try to do this with a drill. Mark the place where you will drive with a hammer or punch.Here's how to drive a nail into a concrete wall without a drill, everything is somewhat more complicated - somehow you still have to make a hole for the dowel:
- Take a drill of a suitable diameter (you will find it on the marking), the dowel should be the same size.
- Drill a hole.
- Remove dust (a household vacuum cleaner will do just fine).
- Insert the dowel.
- Immerse its cartridge at the desired depth.
- Drive in a nail.
If there is no drill
Drill is a very useful thing in the household, but a beginner master may not have it. In this situation, a jumper will help out - a metal tube in which one end is hardened and sharpened with teeth:
- Mark the place on the wall.
- Place the jumper with the pointed end on the mark.
- Hit it hard with a hammer - it’s better to take a heavier tool.
- Turn the jumper slightly and hit again.
- Proceed in this way until you get a hole of the desired depth.
- Remove dust periodically.
- Drive a chopper into a hole - a wooden cork.
- Drive a nail into the cork.
How to make chopik?
The question is, what is a wooden cork that is inserted into the hole? It is done like this:
- Saw the block of wood according to the size of the hole - the harder and denser the breed, the more reliable the connection will be.
- Give it the shape of a cone - the narrow end should pass into the hole freely, and the wide end with difficulty, that is, it is necessary that its diameter be slightly larger (about 3 mm).
- Make a cut from the narrow end.
- Insert wedges from the same breed into the incision.
Important! Wood must be dry.
Wood screws
Some objects are attached to concrete walls with screws. They also need holes. You can insert them into wooden corks. But there is another way - the holes are filled with alabaster or cement, and a wire is screwed onto the screw thread.
to contents ↑Brick wall
A brick is softer than concrete, but harder than wood, this material has its own characteristics that must be considered if you want to hang something on the wall:
- Choose a place - you need to approach this carefully, since the bricks are attached to the mortar, which can spill out from strong shocks. It is best if the nail goes into the middle of the brick.
- Carefully drill holes - start at slow speeds, and then, when the drill enters a depth of 1 cm, increase speed.
- Carefully remove crumbs and dust from the hole - the brick crumbles much better than concrete.
The hole is ready - you can proceed in two ways:
- drive in a nail immediately;
- insert a cartridge.
We drive in nails in a tile
That's bad luck - you have completely finished the bathroom, but did not think that you need to hang a cabinet on the wall. To remove the tiles is a dirty and time-consuming business. Nothing terrible happened, you can drive nails into ceramic tiles, although it is characterized by increased hardness. How? Yes, almost the same as in concrete:
- We outline the place - in this case, the marker is most suitable. It does not matter where the hole will be - in the tile or in the seam, the latter option is even more convenient.
- Drill a hole with a drill of the appropriate quality and diameter, while drilling the entire thickness of the tile and part of the wall.
- Insert the dowel.
Drive nails into drywall
Plasterboard partitions are a fairly common occurrence in modern apartments. Is it possible to nail something to them? Here it is necessary to take into account the properties of the material itself. It is much softer than concrete, brick or tile, and less viscous than wood. It is not difficult to break through it, but there is another problem - it is problematic to provide a reliable connection. It is not recommended to hang heavy objects on such partitions.
To fix something light, it is useful to use special fasteners designed for fragile surfaces. The sequence of work will be the same as always:
- First you need to mark the place.
- Then drill a hole of suitable diameter.
- Insert the fastener element - for greater durability of connection it can be put on glue.
Stock footage
Thus, nothing is impossible to securely fasten objects on the walls. A real master can handle both tile and concrete, if you use your wit and do all the operations carefully.
- How to choose a vacuum cleaner taking into account the characteristics of the house and coatings?
- What to look for when choosing a water delivery
- How to quickly create comfort at home - tips for housewives
- How to choose the perfect TV - useful tips
- What to look for when choosing blinds
- What should be running shoes?
- What useful things can you buy in a hardware store
- Iphone 11 pro max review
- Than iPhone is better than Android smartphones


