

What profiles are needed for drywall walls?
If you decide to independently build a wall from drywall, then you should consider choosing the profiles that will be the support for this design. The issue must be approached with particular responsibility, since the reliability and durability of the partition will depend on your decision. Most often, its frame is made of galvanized steel, the vertical and horizontal of which are able to withstand severe loads. Today we will discuss what profiles are needed for drywall walls, what is their feature and purpose. A detailed master class on installing the profile itself will be presented to your attention with a list of useful recommendations that will help you complete the work efficiently and without outside help.
to contents ↑Plasterboard partition frame
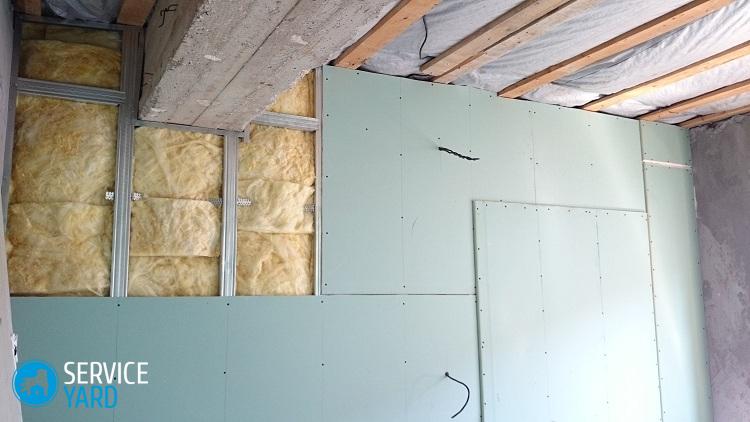
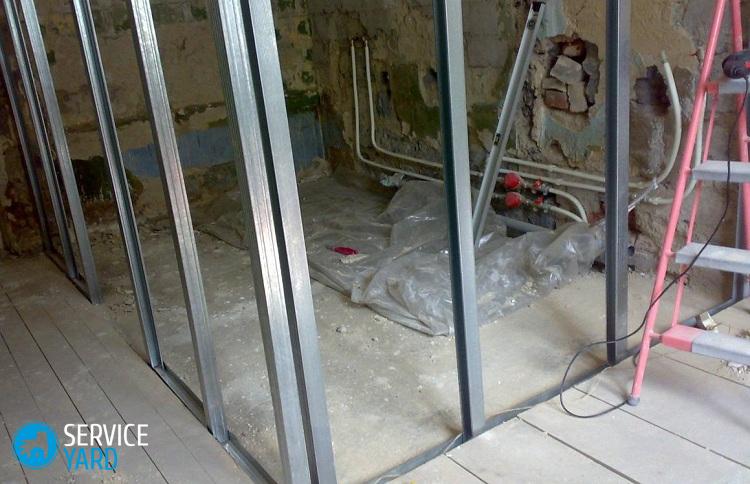
Before starting work, you should well understand what parts the entire structure should consist of. Any partition has a basis on which sheets of drywall should be fixed. The sheets themselves are quite heavy, so the “skeleton" for their fastening should be as strong as possible. A profile that will make the wall perfectly smooth and strong will help solve the problem.
The list of connecting elements that are the components of the screen from the GCR:
- Guide rack - used to fix the frame to the ceiling and floor surface.
- The rack profile is the basis of the frame.
- Jumper profile - is the connecting elements of rack-mount verticals.
- Corner element.
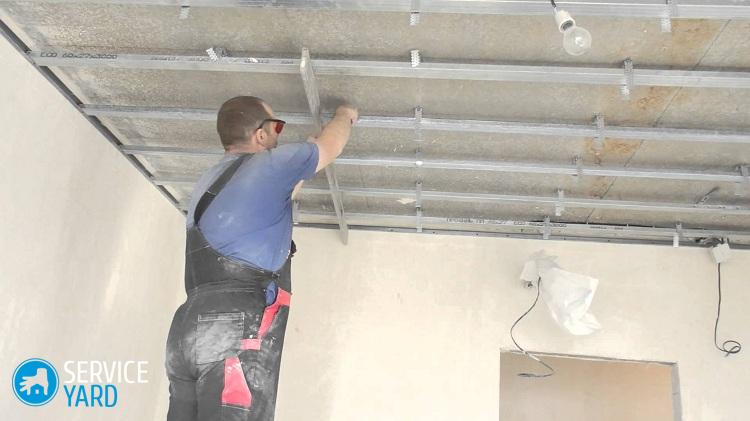
- Ceiling.
- Flexible arched partition - used for the construction of arches.
- Suspensions.
- The connector is one- and two-level.
- Cut to extend the structure.
to contents ↑Important! When choosing a galvanized profile, pay attention to its appearance. It should be without any damage or rust. The ideal option is a metal bar, which contains 99% zinc, which is least afraid of corrosion. Some manufacturers try to hide the marriage under a layer of product painting. You must be fully aware of the dangers of such a disguise, since in any case, such a partition risks quickly collapsing.
Which profile to use for drywall walls? Introducing Varieties
In order to choose a high-quality and reliable material, you need to know the main types of steel profiles. Due to their properties, they are different and their purpose is also different - it all depends on the frame you selected for the drywall partition.
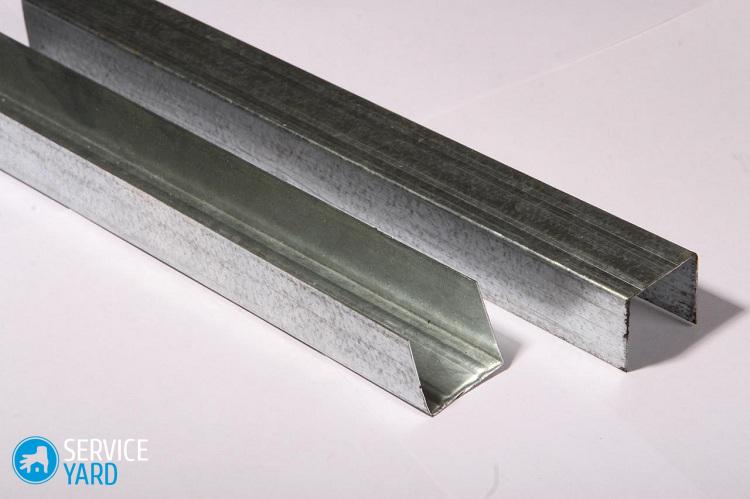
Guides
The profile is made in the “U-shaped" form. This section is of the following sizes:
- 50/40 mm.
- 65/40 mm.
- 75/45 mm.
- 100/40 mm.
The first number indicates the width of the rear rail, and the second indicates the width of the steel profile shelf. The size of the holes for dowels in the rails is 8 cm in diameter, and the profile length, regardless of the beam width, is 3 meters. It is on the profile guides that you need to mount the racks, which we will now consider.
Rack
They are an additional support for the guiding "skeleton". The rack rail is a “C-shaped” beam. These elements are inserted inside the guide profile, thereby forming an almost complete frame, which is the base for the installation of the partition.
The following options for rack profiles are distinguished:
- 50/50 mm.
- 65/50 mm.
- 75/50 mm.
- 100/50 mm.
We see some differences in the width of the rack guide.When choosing a profile size, you always need to focus on the size of the drywall sheets and how complex shapes you plan to make in the partition. In addition, for the correct choice of the width of the beams, you should determine their length so that the finished frame is proportionally even on all sides.
So, the length of the rack profiles can be as follows:
- 3 meters.
- 3, 5 meters.
- 4 meters.
Important! In any case, it is better to take long beams and cut them if necessary, than to spend on short guides, which will be difficult to work with when connecting them. If you nevertheless bought racks that are shorter than the height of the walls as used materials, then the risk of obtaining an unreliable and fragile structure is not excluded.
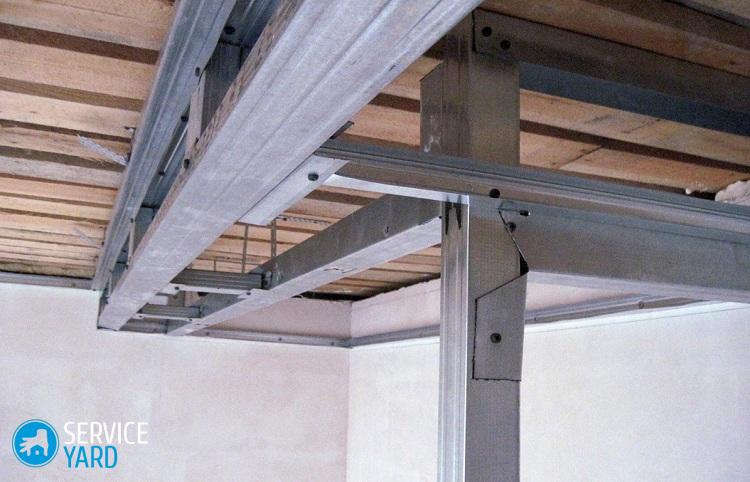
Jumpers
A single drywall wall with a door, and maybe with an arch, needs to be made as strong as possible. Therefore, here you need to strengthen the frame with additional jumpers, which can be purchased at a hardware store or made with your own hands from the same metal profile.
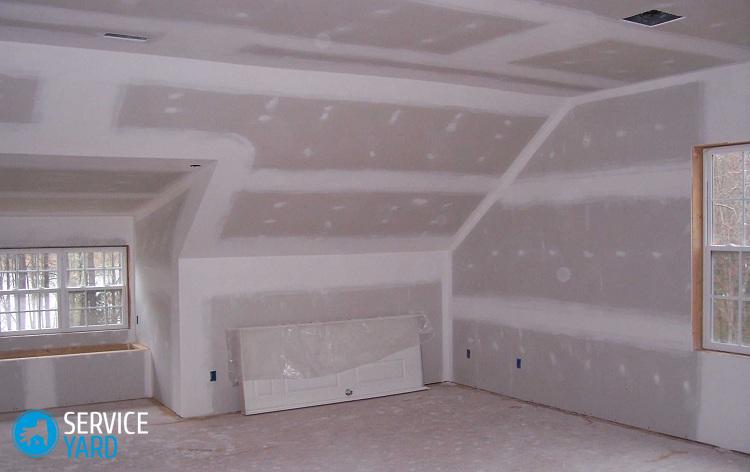
We have finished analyzing the question, which profile for the drywall on the wall should be used. Now it’s the turn to go to the most important - the installation of profiles to create a metal frame for the partition.
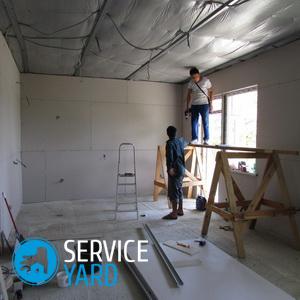
DIY plasterboard installation
Before you build a frame for a drywall partition, you need to go through several steps. This will help you in a quality installation of the metal structure.
Materials and tools:
- Guide beams with the selected width and quantity.
- Rack beams in the required quantity.
- Sealing tape (if you decide to insulate or increase the sound insulation level of the drywall).
- Hammer drill.
- Screwdriver.
- Self-tapping screws for metal with a diameter of 25 to 30 mm.
- Self-tapping screws with a washer for pressing a steel surface.
- Dowels.
- Building level.
- Plumb line.
- The hammer is ordinary.
- Roulette.
- Construction knife.
Recommendations before starting work:
- The installation of the frame should be done only after the installation of the entire communication system. This includes wires, ventilation and plumbing.
- When working with a wooden floor, to fix the drywall partition, you need to take screws for a wooden surface.
- For a double skeleton, the beams should be treated with sealant, thereby lowering the level of incoming noise.
- It is advisable to place horizontal joints apart, and lay the cables perpendicular to the rack guides.
- Heat and sound insulating materials must be installed after the installation of electrical fittings.
Preparatory work:
- We exempt from the old wall and floor coverings, where the partition will be installed. The frame can also be mounted on the old floor covering, following the basic rule: the floor must be strong, stable, motionless.
- We put on the wall and floor the borders of the planned plasterboard partition. Do not forget that the border line should be closed. For its correct application, you should use a level that will help to establish vertical marks for the future partition.
- The thickness of two layers of material should be retreated from the boundary of the partition, and then a closed mark should be drawn. At the mark that was drawn on the floor, it is necessary to put an opening mark under the door. After the marking is ready, you can begin to fasten the guide profiles.
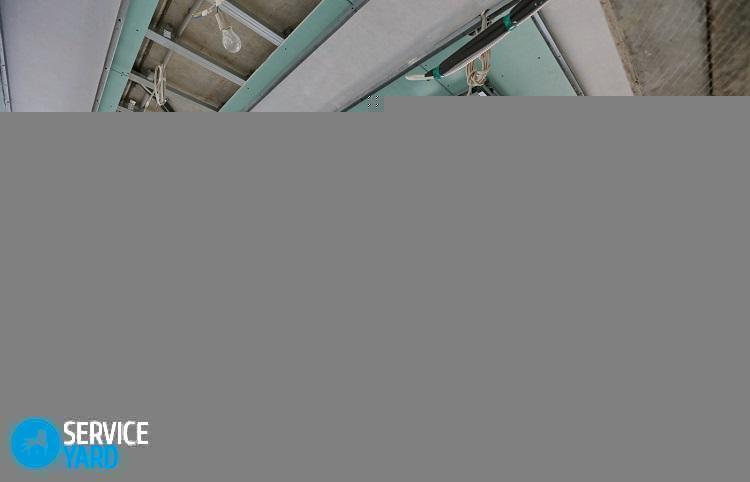
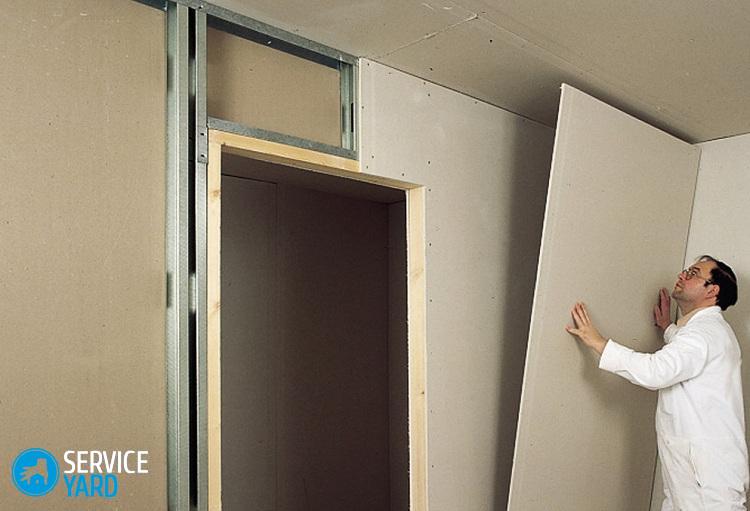
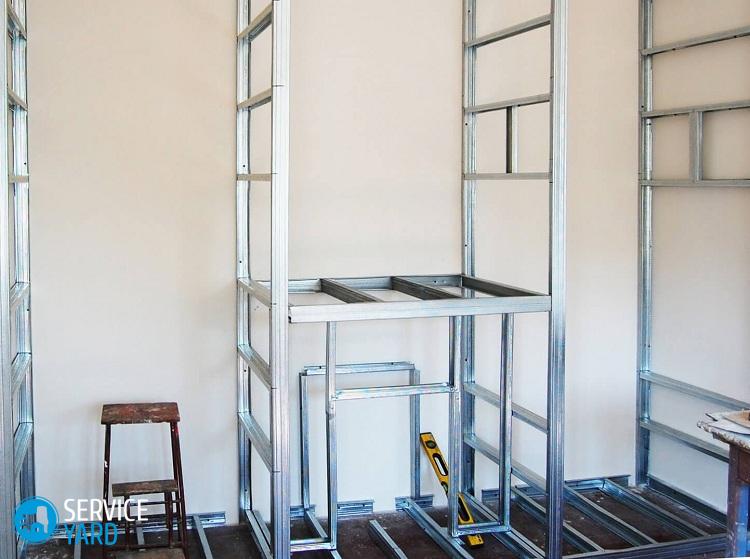
Mounting:
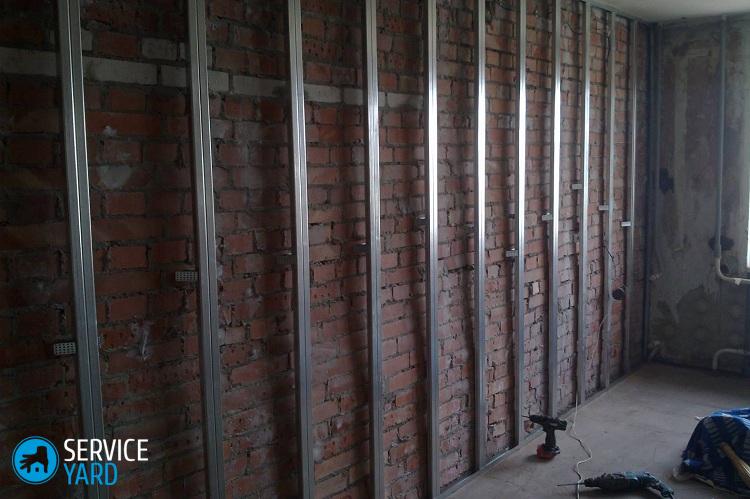
- We fix the guide racks, and after them - rack profiles and jumpers. At this point, you should consider the option of assembling the structure. Some craftsmen assemble the frame outside the wall, fixing the finished crate, while other craftsmen assemble the metal “skeleton” at the installation site of the drywall partition.
- We paste over the guide rail with sealing tape. With the help of such material, you will significantly increase the heat and sound insulation in the free space of the partition. We fix the profiles on the surface with a pitch of at least and no more than one meter.
- First we attach the rack profiles to the floor, and then we fix them along the wall, moving towards the ceiling.It is very important to correctly measure the height differences, if necessary, lay small substrates to make the structure perfectly smooth. To do this, use the construction level.
- Since our partition assumes the presence of a door, we therefore install guide rails at the place of its placement, and at the joints of drywall we fix rack profiles.
- Now set the jumpers. This step should be done only for bulky drywall construction. Jumpers several times increase the strength of the frame, making it stable and wear-resistant.
Stock footage
We told you which profile to choose for drywall partitions. You just have to make the right choice, on which the reliability of the whole structure will depend.
- How to choose a vacuum cleaner taking into account the characteristics of the house and coatings?
- What to look for when choosing a water delivery
- How to quickly create comfort at home - tips for housewives
- How to choose the perfect TV - useful tips
- What to look for when choosing blinds
- What should be running shoes?
- What useful things can you buy in a hardware store
- Iphone 11 pro max review
- Than iPhone is better than Android smartphones
 (No ratings yet)