How to install a built-in electric oven?
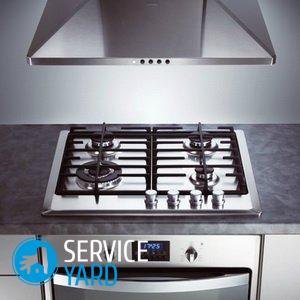
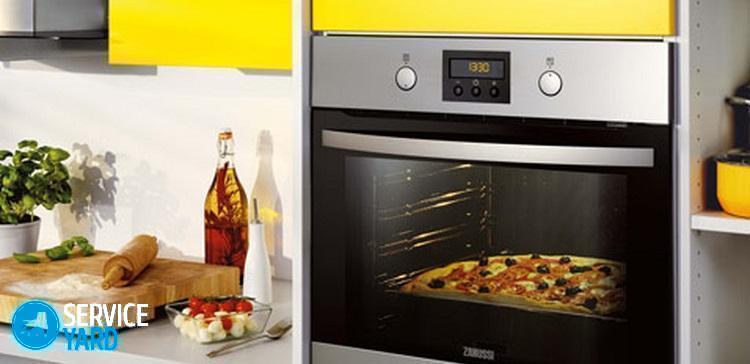
For modern kitchens, separate cooking systems are characteristic, that is, a hob and an oven separated in space. The reason for this is the fact that people who cook well prefer an electric oven and gas hob. Installation of an electric oven requires certain knowledge and skills. This article will help you figure out how to install a built-in electric oven.
to contents ↑Overview of ovens from renowned manufacturers
Ovens from well-known brands are by no means cheap, but they differ in excellent quality and excellent performance characteristics:
- Bosch - ovens of the highest quality, equipped with an environmental cleaning system. The temperature range is from 30 to 300 degrees. They are distinguished by a stylish design, ease of management and operation.
- Samsung - convenient ergonomic models with a convenient change of mode and economical energy consumption.
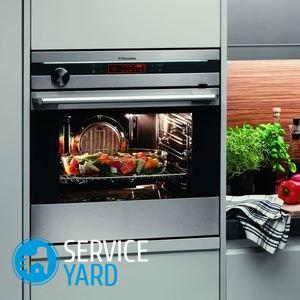
- Electrolux - ovens with built-in electronic timers and temperature sensors. Management - touch. Beautiful thoughtful design, a wide selection of colors.
- Gorenje - units are equipped with a steam cleaning system. They are distinguished by a stylish design, multifunctionality, a large number of heating modes.
Installation of the integrated oven
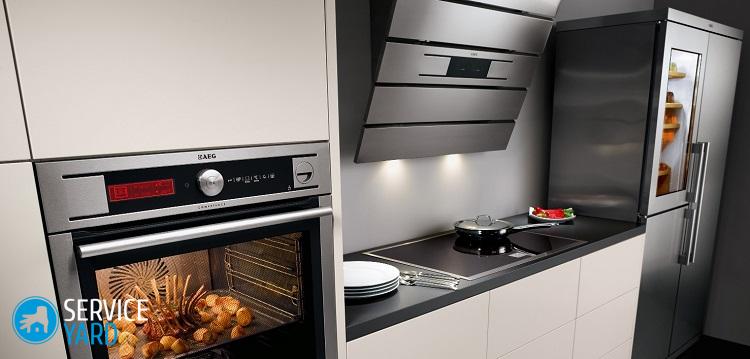
If you are moving into a new apartment, the best option would be to buy a kitchen furniture set with a hob and oven already installed. Installation of the kit should be entrusted to professionals. If you decide to independently install a built-in electric oven, you must follow certain rules.
First of all, you need to know that ovens are divided into two categories:
- Independent.
- Addicted.
What to consider in the model of each of these types in order to correctly install the built-in electric oven:
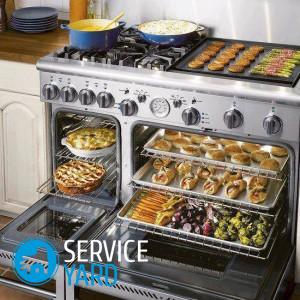
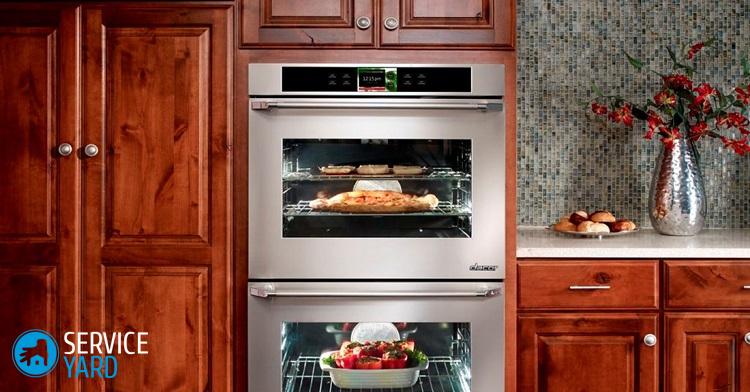
- Independent ovens can be placed anywhere you choose. It is a fully autonomous construction.
- Dependent ovens are connected to the hob. Such devices are sold as a set, with the hob mounted on top and the oven below. This does not suit everyone, so autonomous ovens are becoming more popular.
Important! Before installing the electric oven, you need to prepare a niche for installation. In the process, it is necessary to control using the building level so that there are no distortions. Distortions are unacceptable, since this threatens an uneven distribution of heat and the failure of the oven.
How to install the oven yourself?
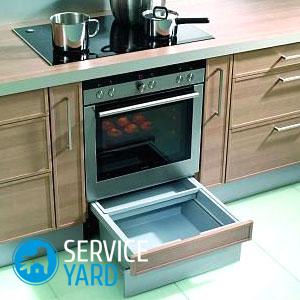
Since the oven during operation emits a large amount of heat from the surfaces, ventilation gaps must be provided between the walls of the cabinet and the niche:
- The distance between the floor of the niche and the bottom of the electric oven is 8.5-9.5 cm.
- The distance between the side walls of the niche and the oven should be at least 0.5 cm on each side.
- The minimum width of the ventilation gap between the rear walls of the niche and the oven is 4.0 cm.
Important! If you do not buy new furniture, you may be able to do it yourself according to our instructions cabinet for built-in oven in the style of your kitchen.
Connection Order
So, the oven is installed. Now you can think about how to connect the oven. Since the oven consumes a lot of power, the most crucial moment is the laying of a three-core copper wire from the power shield to the electric oven outlet.
Important! This must be done if the house is old and the internal wiring is made of aluminum wire.
What rules to follow here:
- With an oven power of 3-3.5 kW, the current consumption will be no less than 16 A. In the power panel, it is necessary to put a separate machine for 25 A. It works only to turn on the oven. The wire is laid in the cable channel. Type of wire - VVG-3X2.5.
- When the power of the built-in oven is greater than 3.5 kW, the current consumption will be about 32 A. An automatic machine designed for 40A will be needed using the VVG-3X4.0 wire.
Important! All electrical work is permissible only when the mains voltage is disconnected.
Additional rules and requirements:
- Install a three-pin socket on a 3-wire cable, stretched to the kitchen. The socket has 3 terminals: zero, phase and ground.
- If a two-wire circuit is used for wiring (there is no “ground”), it is necessary to invite a specialist to conduct “ground” on your shield.
- The electric oven, depending on the specific model, may have a 3-pin connector for connecting a power cable or a terminal block equipped with screws. The screws are labeled with zero, phase, and earth, but this work must be done with the utmost care.
Important!Often installation is carried out simultaneously with the stove, and there are safety requirements, installation features. All of them are described in detail in our article-instructions."Connecting the hob and oven to one outlet«.
Installation of residual current device (RCD).
Before you turn on the cable, you must make sure that it is able to withstand the current load. So, the connection power of the oven - what is it? Power parameters determine the speed and efficiency of heating, as well as the amount of energy consumed. But this factor will affect the features of the connection:
- With an oven power of 3.5 kW, a three-core copper cable with a cross section of 2.5 square millimeters is used.
- For electric ovens with a capacity of more than 3.5 kW, a conductor of 4 square millimeters is used.
Important! Electricity connection on the distribution panel is possible only after checking the correct installation and connection of the oven.
Features of connecting a gas oven
The procedure for arranging a niche is the same as in the case of electric oven:
- The size of the gaps in the standard is the same.
- The oven is connected to the gas line via a flexible hose.
- The most difficult moment is to ensure complete tightness of the joints.
- The oven must be connected to the mains via a separate faucet.
Important! If connecting electrical equipment is accessible to almost everyone, then gas masters can connect gas equipment.
When all installation work has been completed, you are confident in the safety of the equipment, it's time to try it out. To easily configure the desired mode, read our article about the designationicons on the oven.
to contents ↑Stock footage
As you can see, the oven is difficult to install. However, if you are not confident in your abilities, it is better not to undertake this work, but to contact a specialized company.
 (No ratings yet)